Skip to content
Dashboard

Using fal within an n8n workflow

This guide will demonstrate, step-by-step, how to use fal within an n8n workflow.

Prerequisites

Workflow Overview

This n8n workflow consists of three main HTTP requests:

  1. Submit Request - Send a POST request to initiate content generation
  2. Check Status - Poll the status of your request using GET
  3. Retrieve Result - Fetch the final generated content

Step 1: Create Your Workflow

  1. In n8n, create a new workflow
  2. Start with a Manual Trigger node to initiate the workflow manually
n8n new workflow with manual trigger node

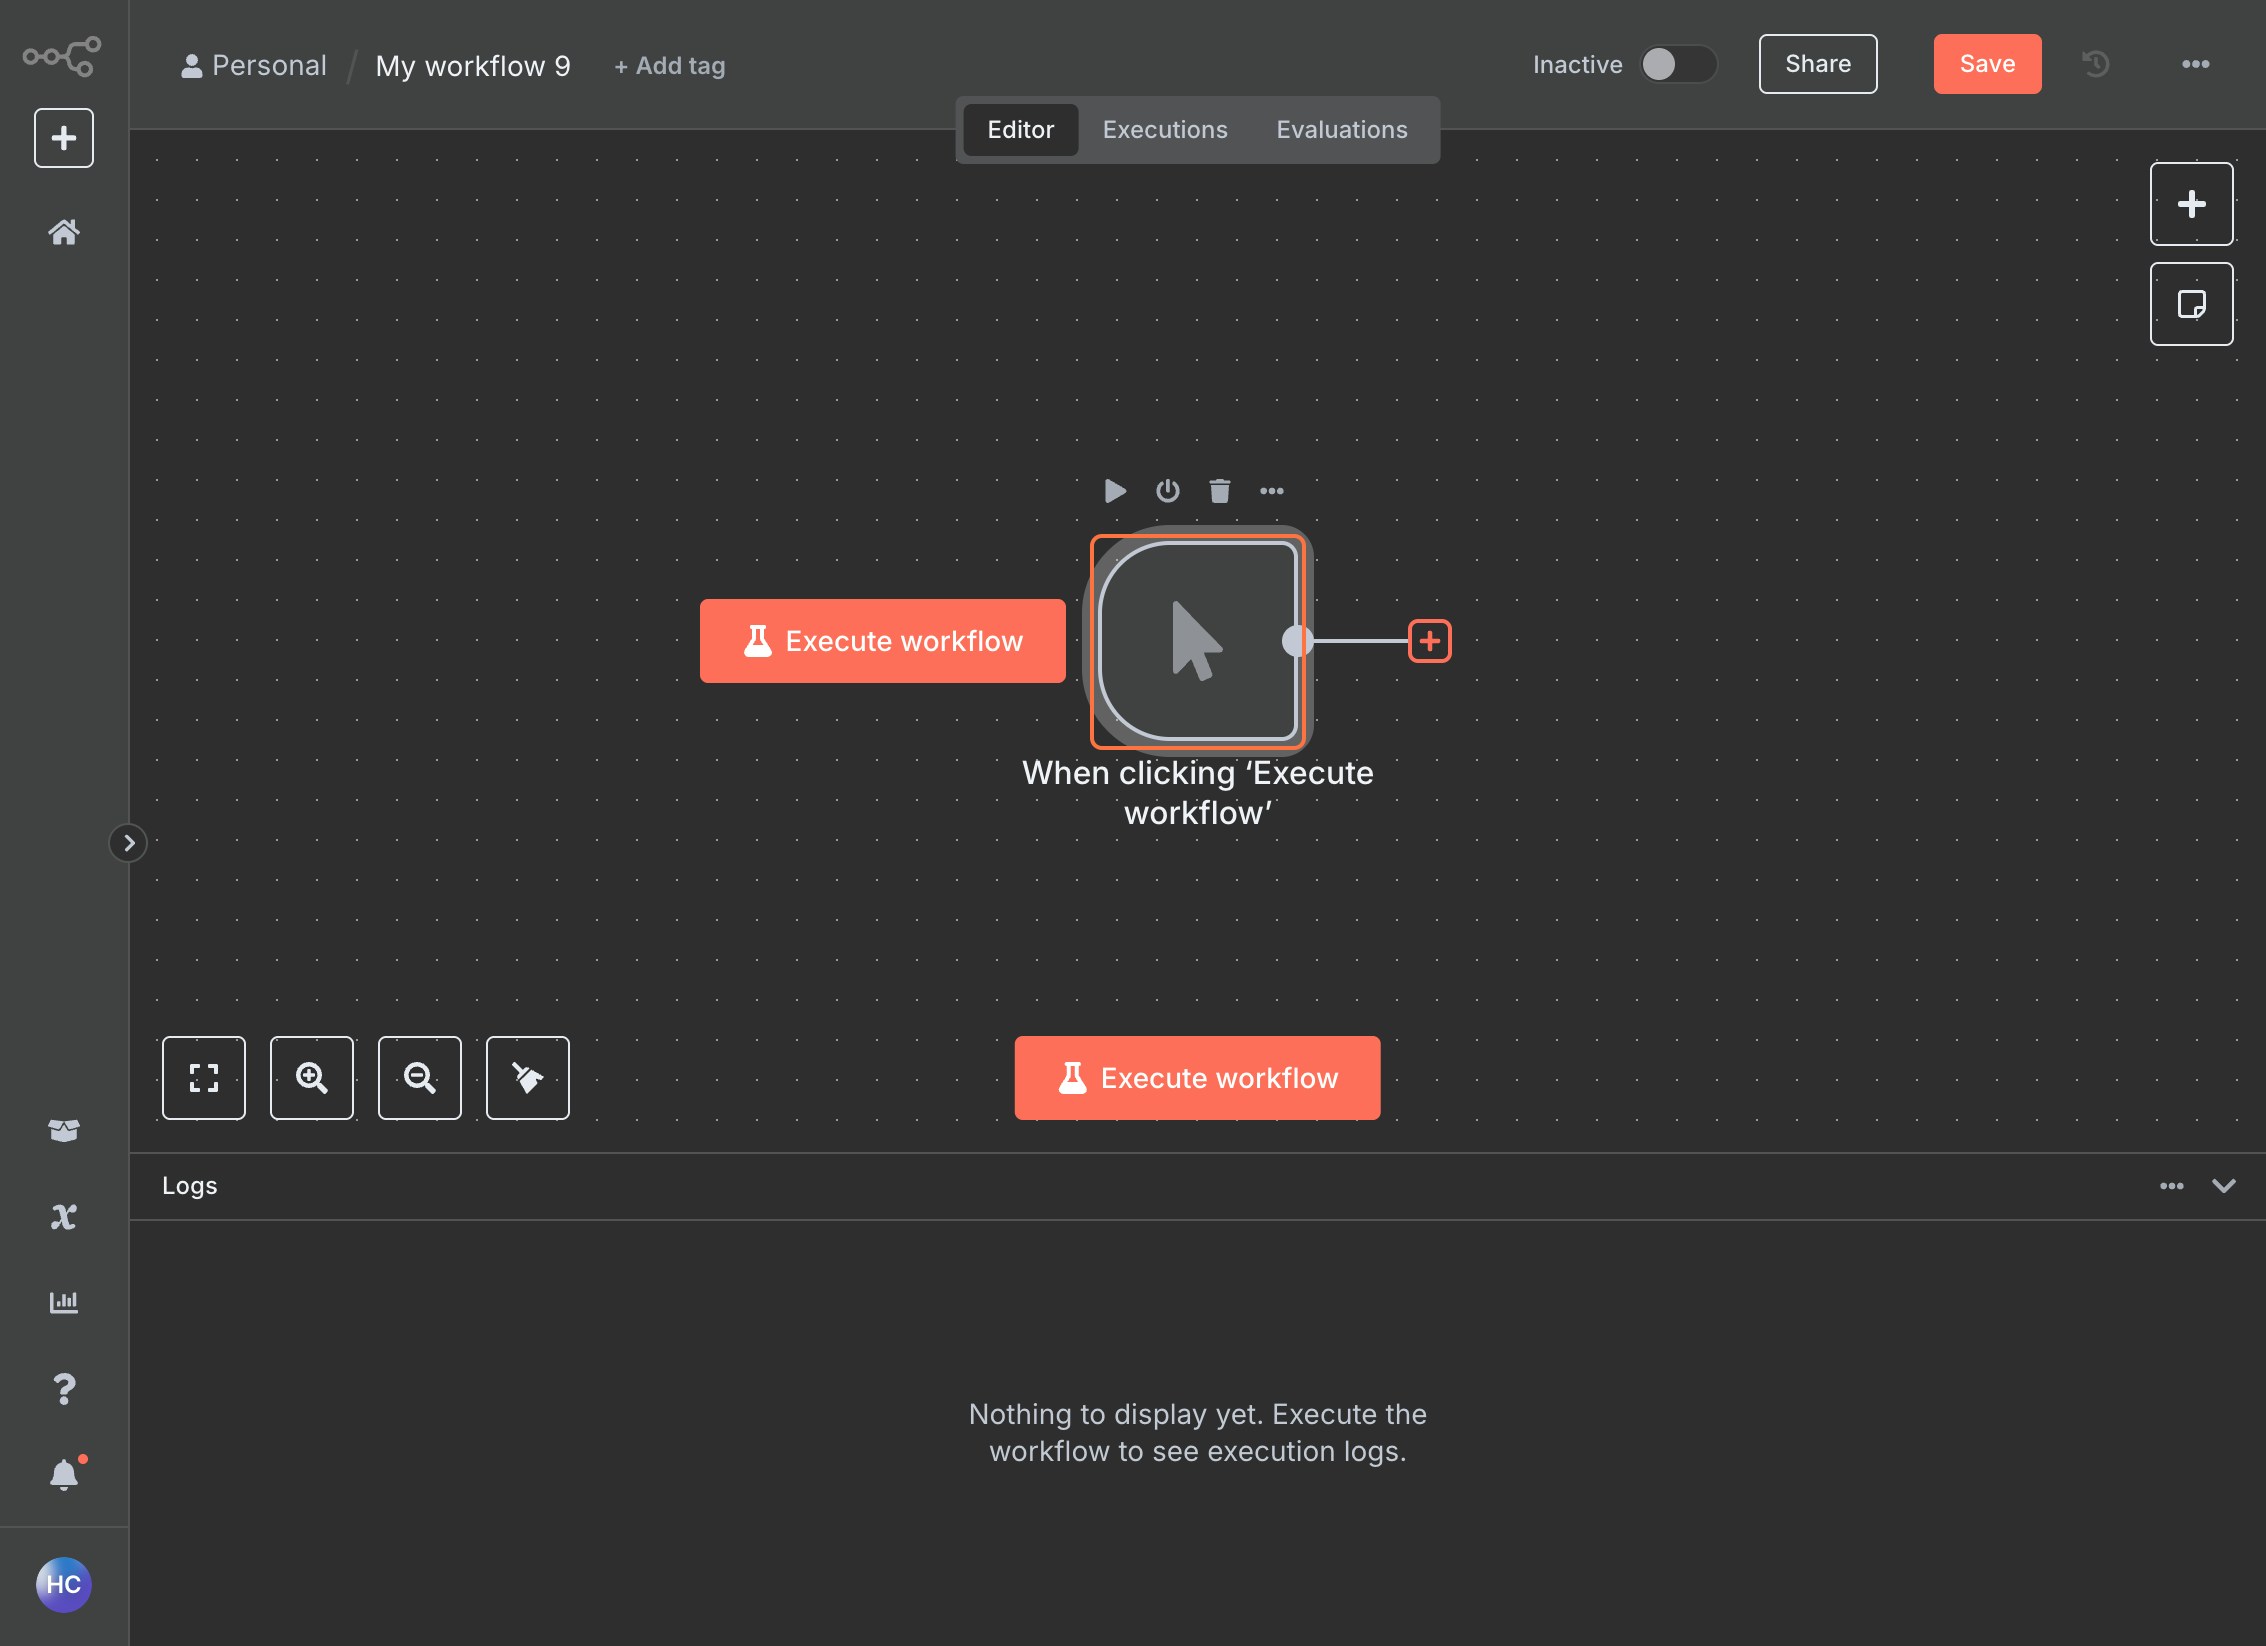
Step 2: Submit Request (POST)

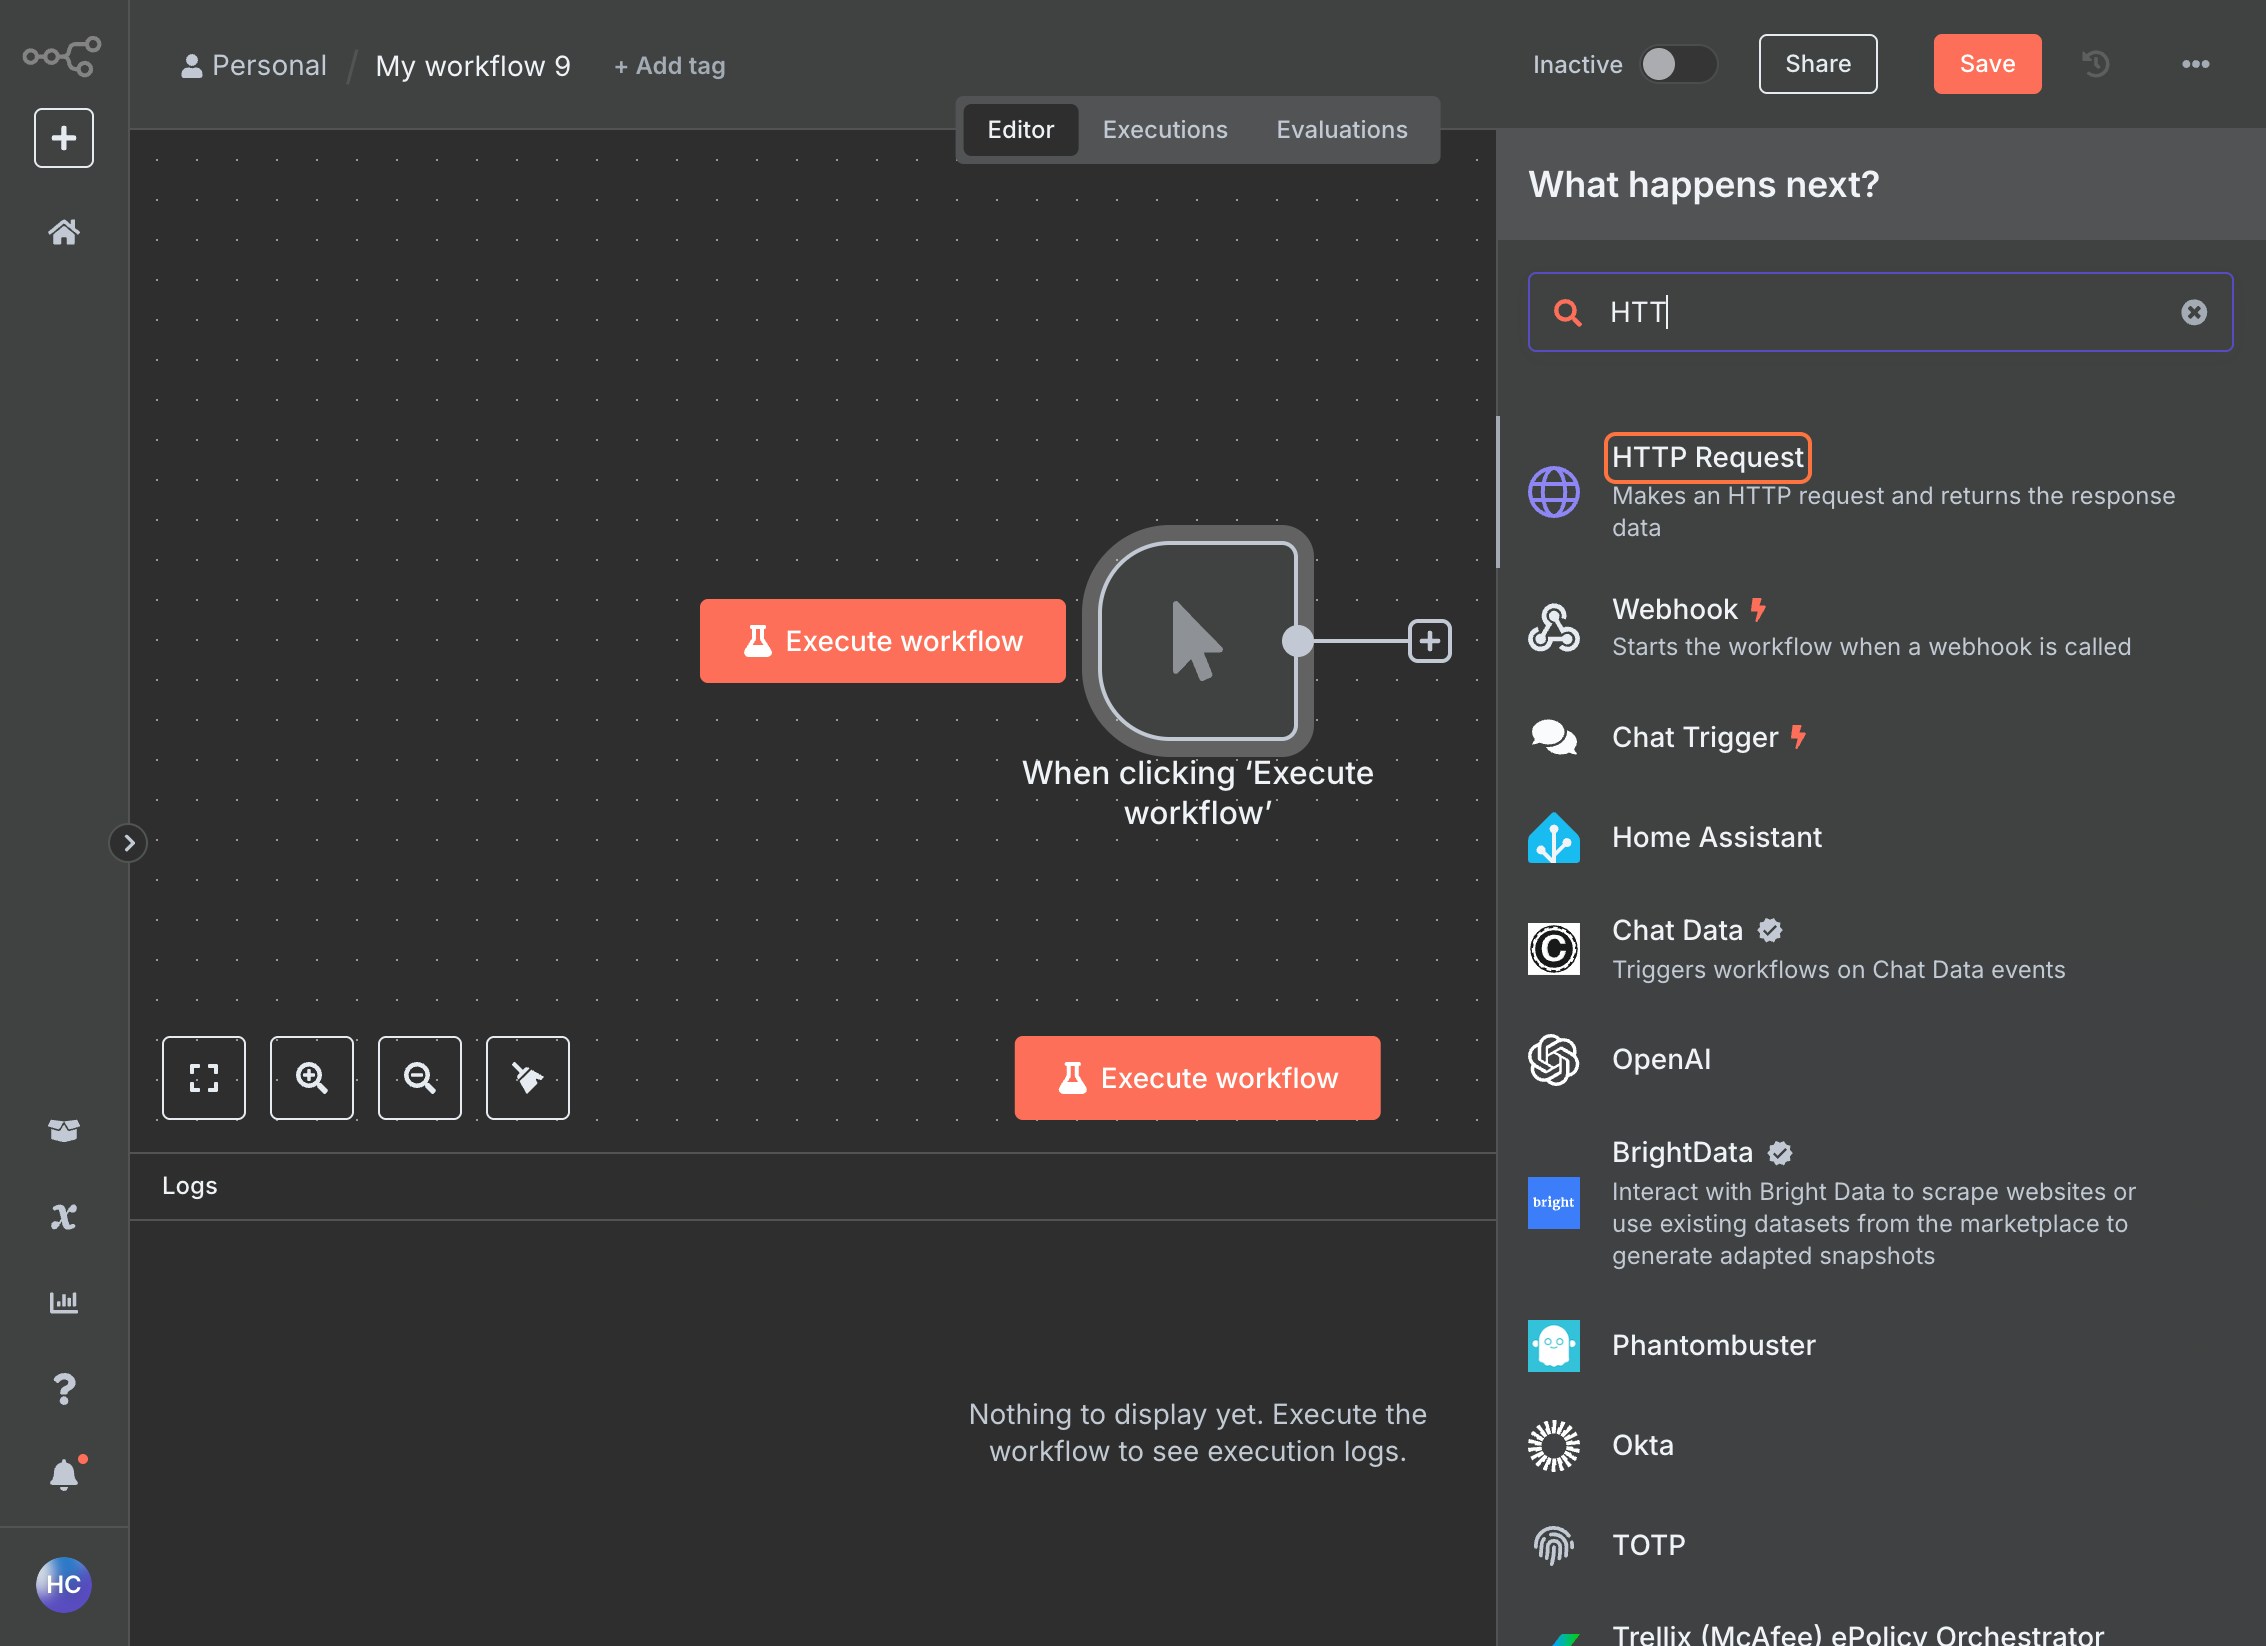
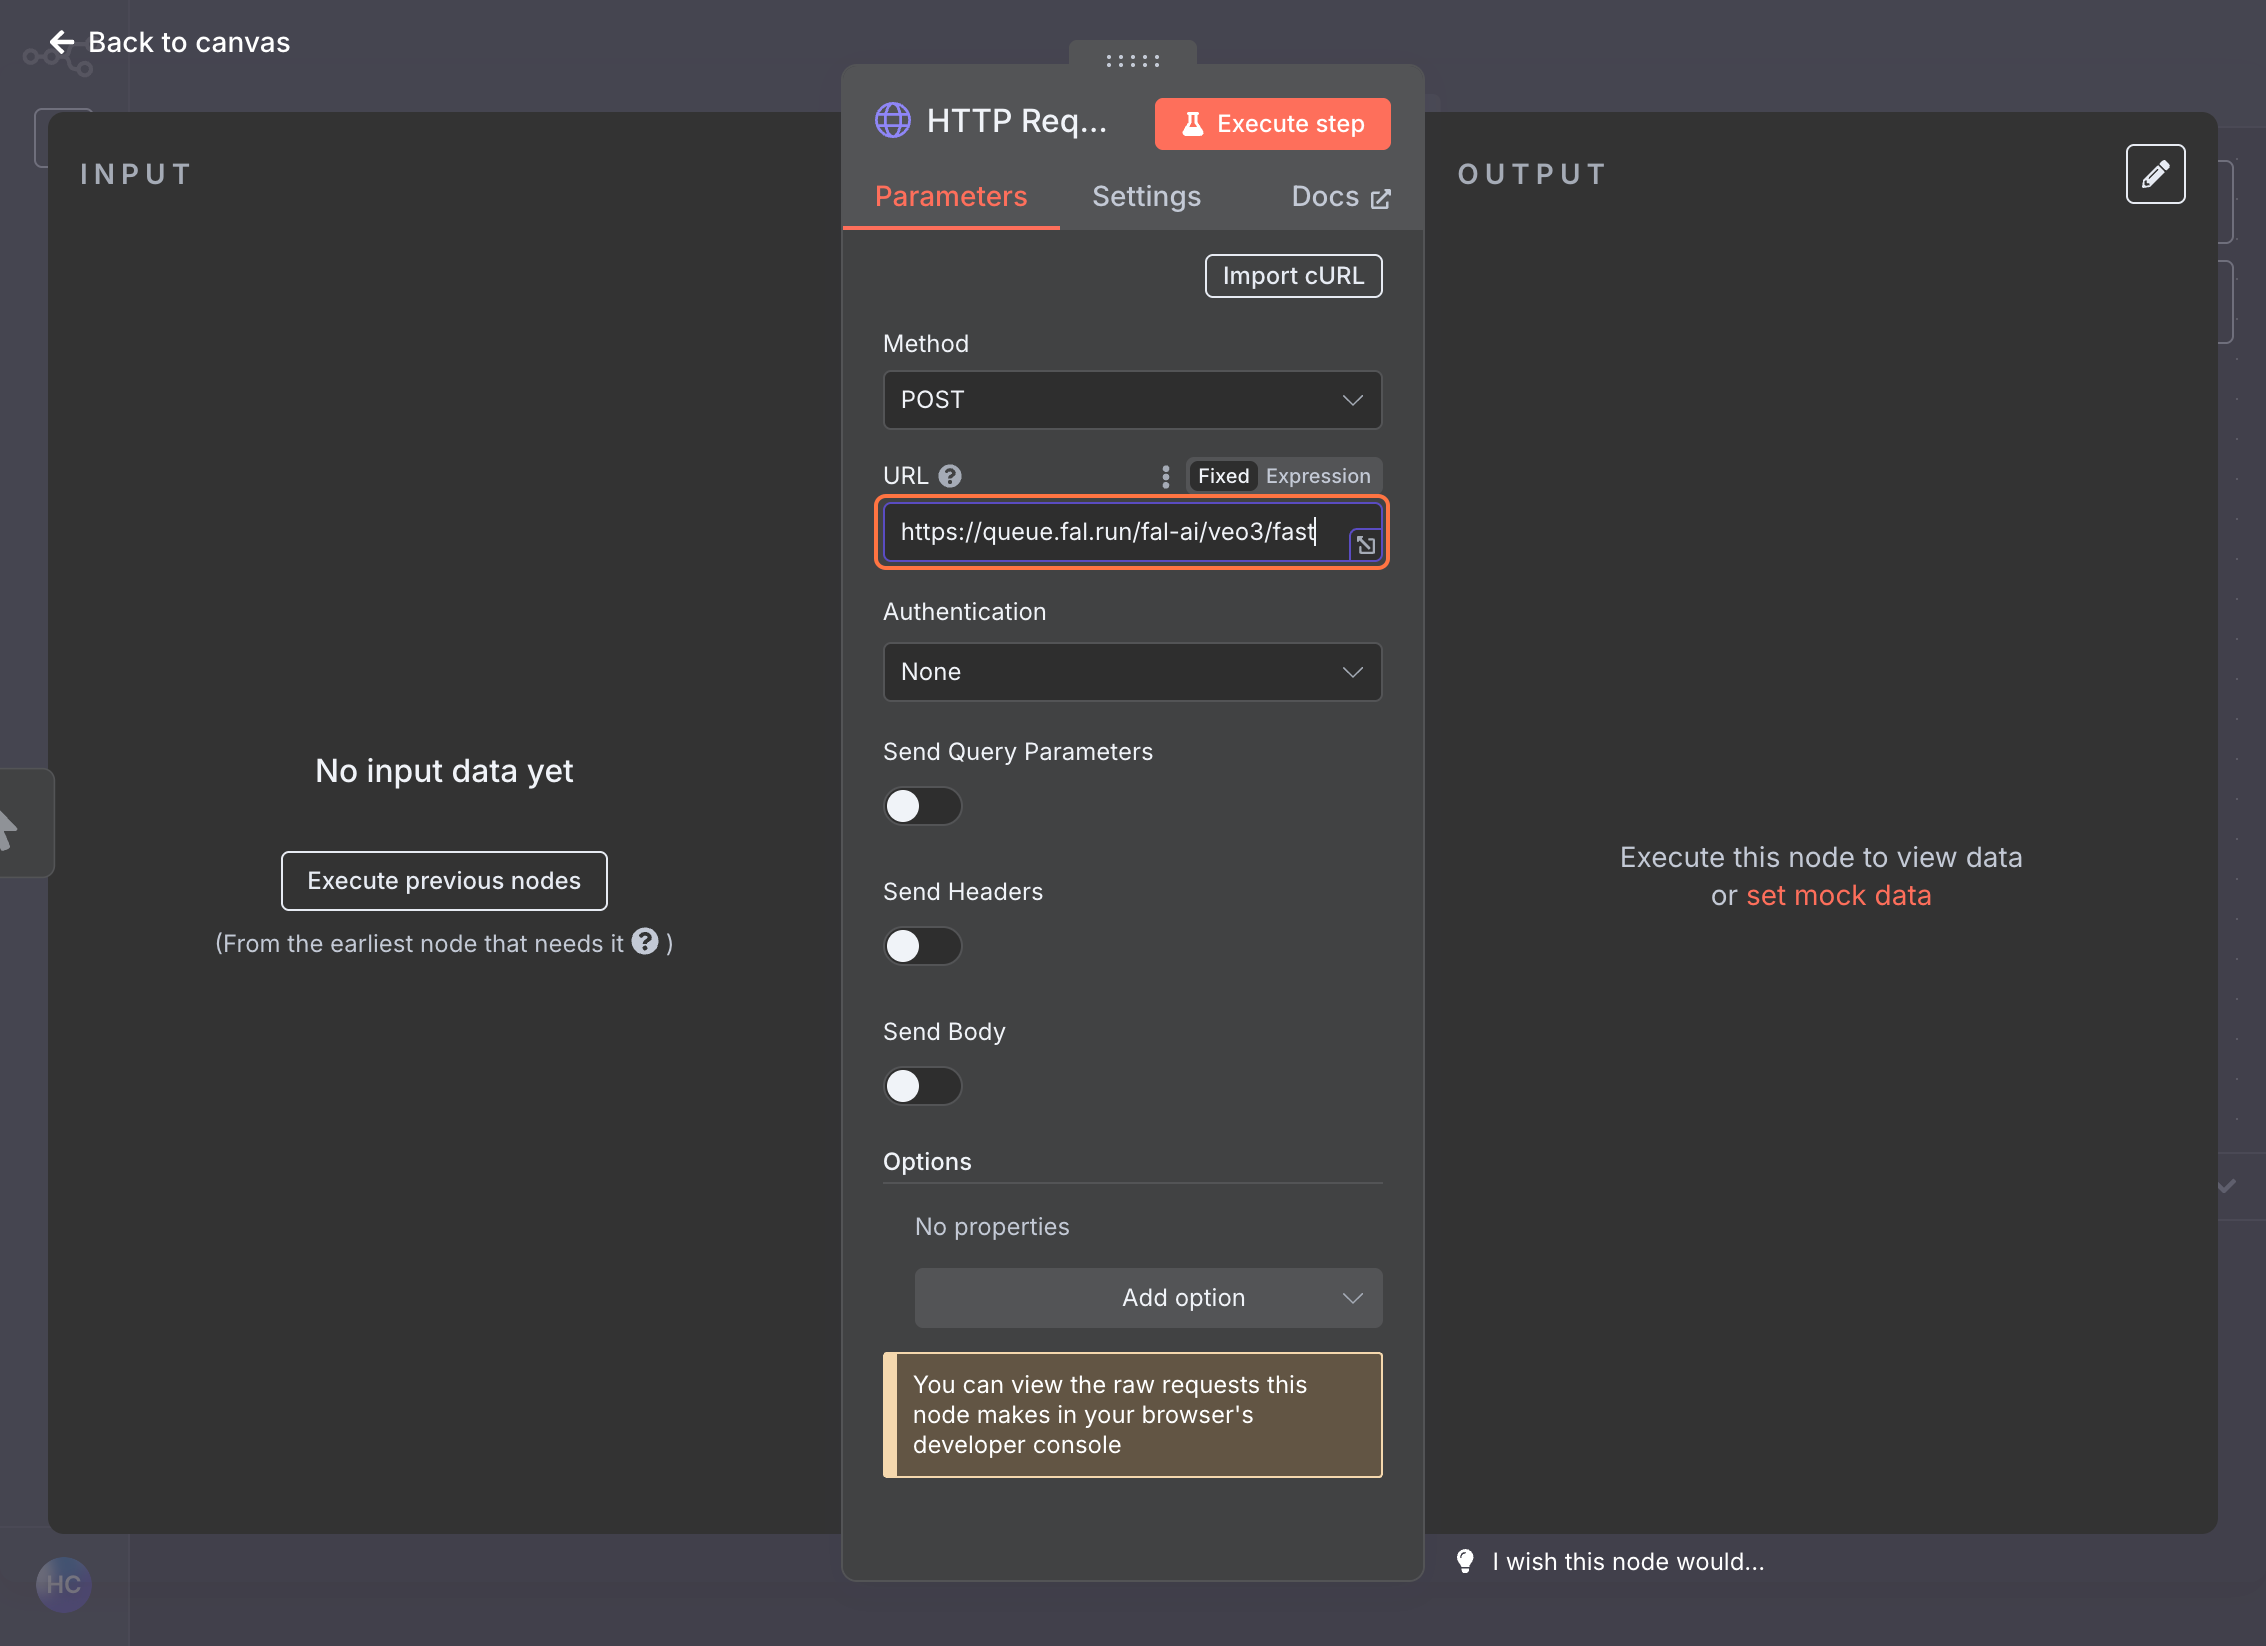
Add HTTP Request Node

  1. Add an HTTP Request node after your trigger
  2. Set the Method to POST
Adding HTTP Request node in n8n with POST method selected

Configure the URL

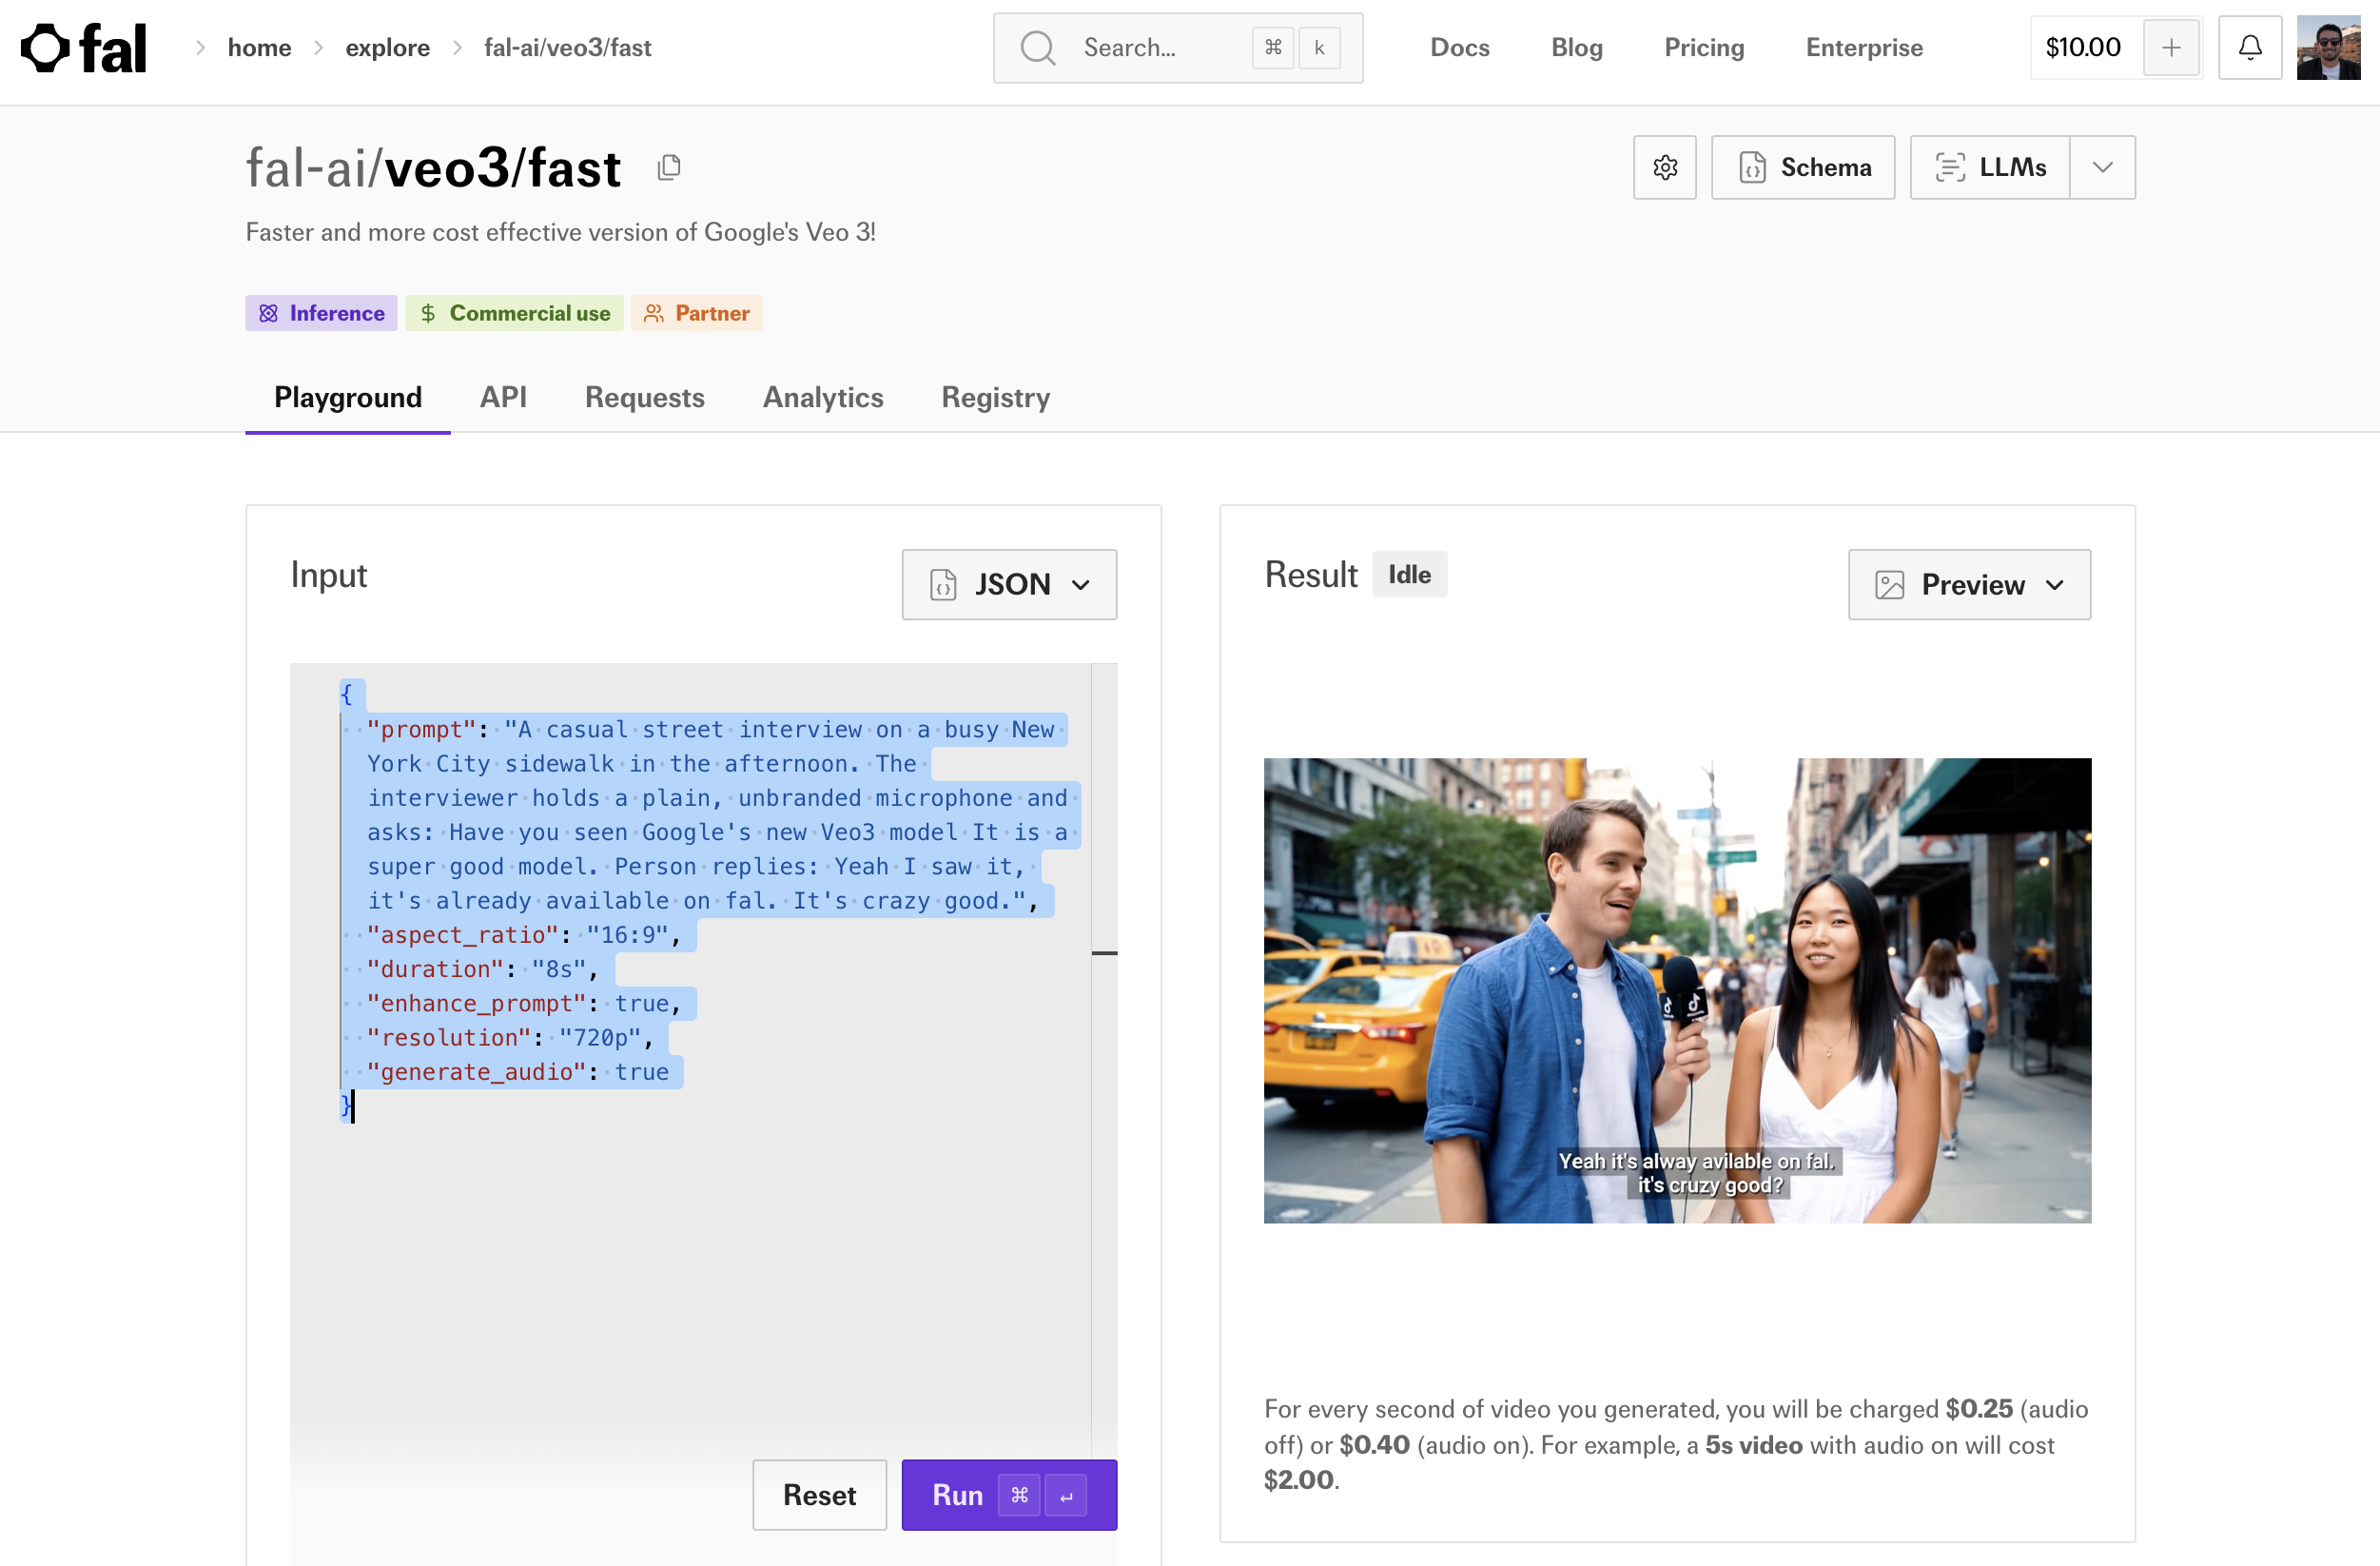
  1. Navigate to fal.ai and select your desired model (e.g.,
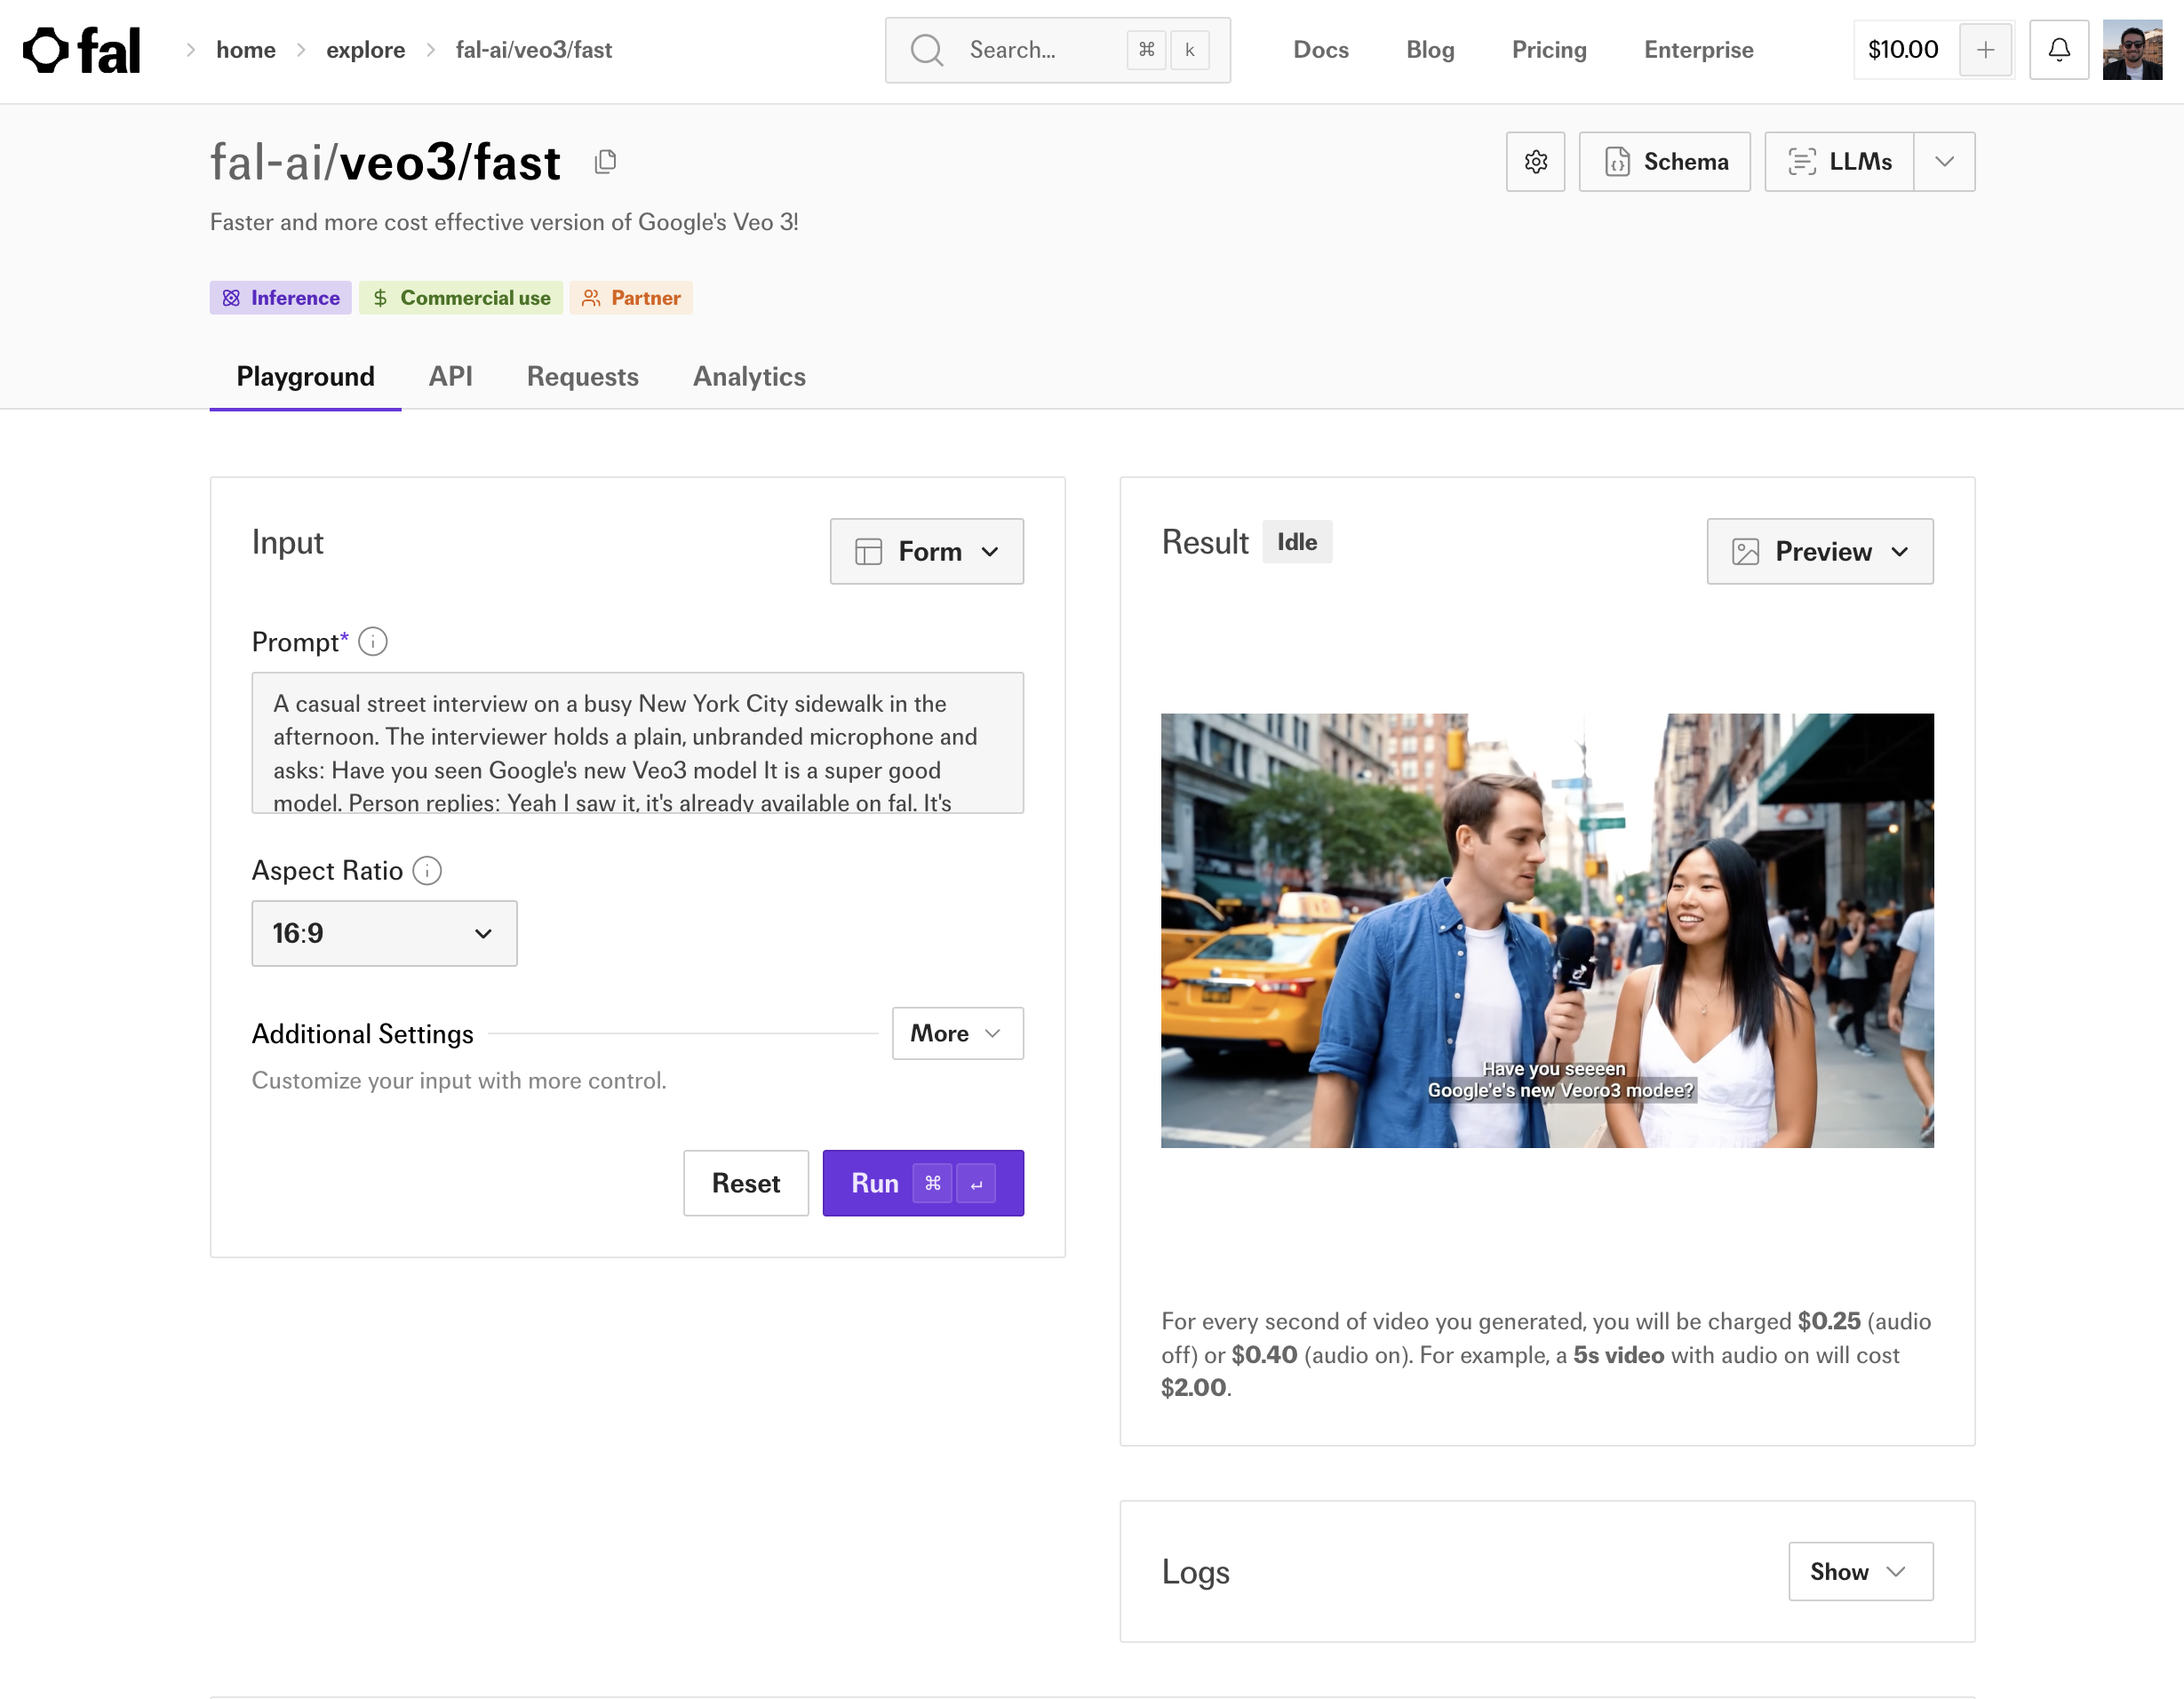
 fal-ai/veo3/fast)
fal dashboard showing model selection
  1. Click on the API tab, select “HTTP (cURL)” and “Submit a request”. Copy and save the URL and data JSON as those will be needed for later.
fal model API tab showing submit request URL
  1. Copy the URL (e.g., https://queue.fal.run/fal-ai/veo3/fast) and paste it into the URL field in n8n
n8n HTTP Request node with fal API URL configured

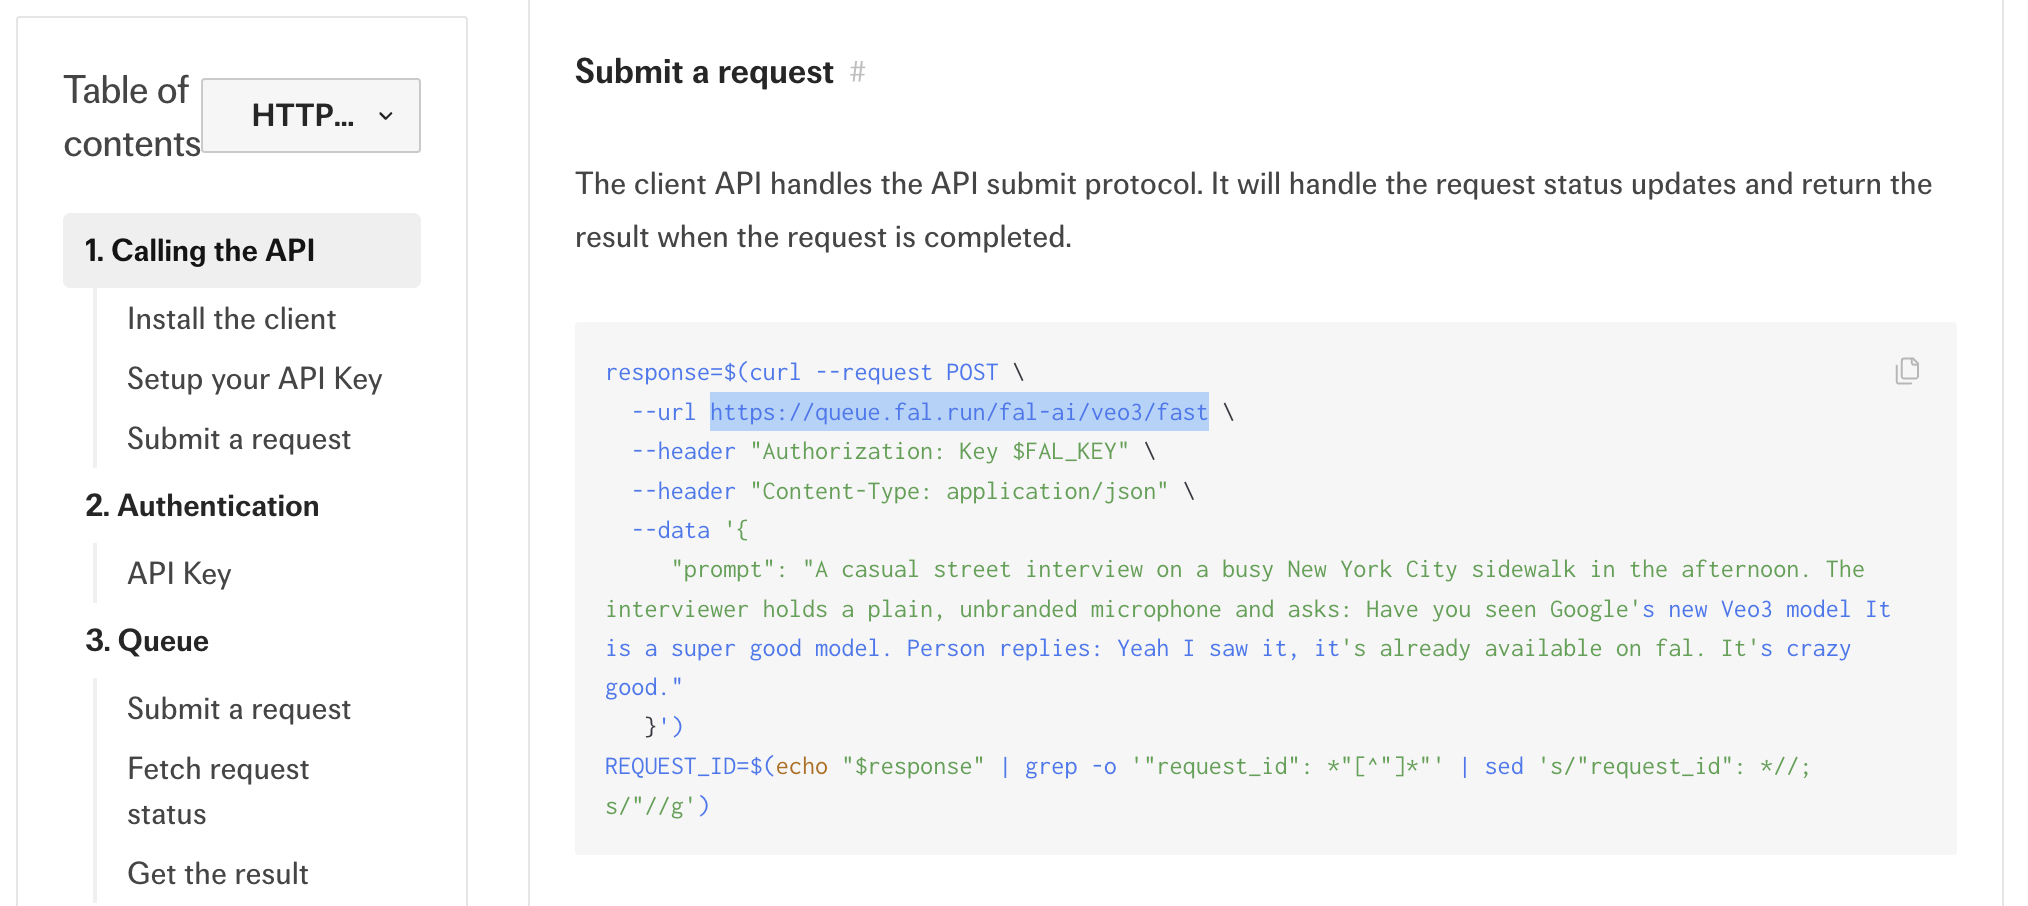
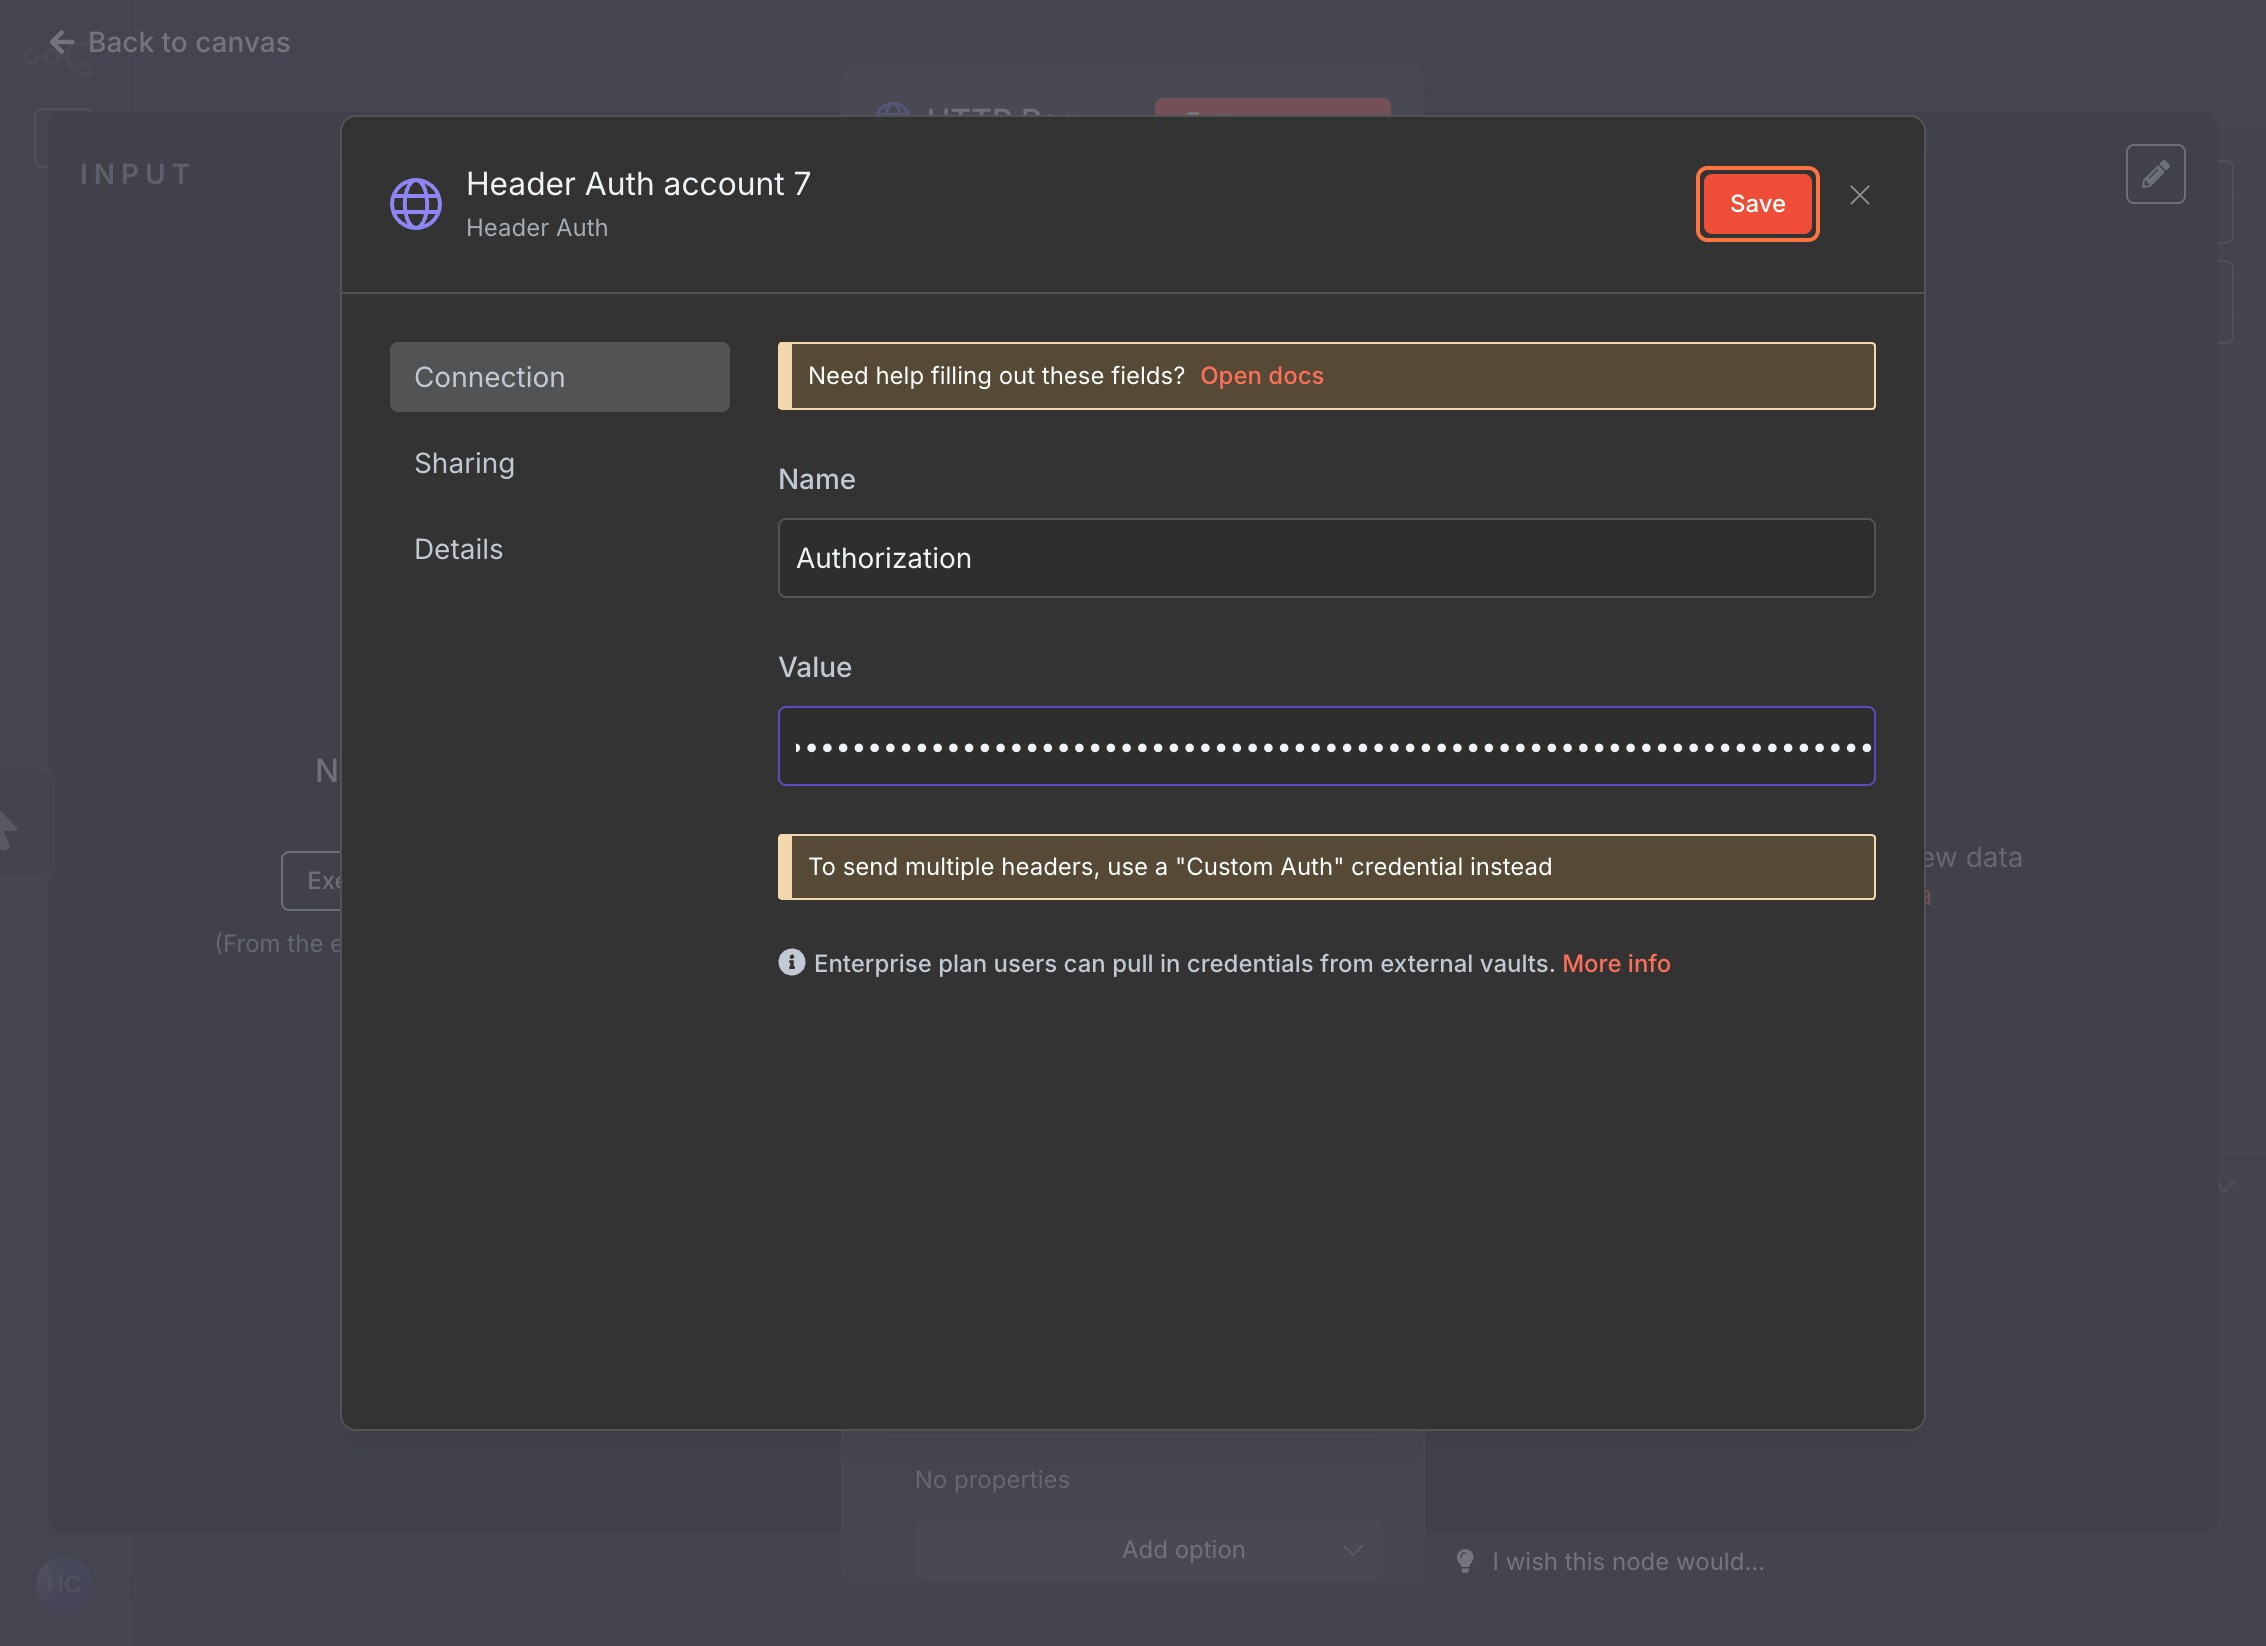
Set Up Authentication

  1. Navigate to fal.ai API Keys, create a new key and copy its value.
fal api key creation
  1. Back in n8n, in the Authentication section, select Generic Credential Type
  2. Choose Header Auth from the dropdown
  3. Click + Create new credential
  4. Set:
    • Name: Authorization
    • Value: Your fal API key
  5. Save the credential and close
n8n authentication creation

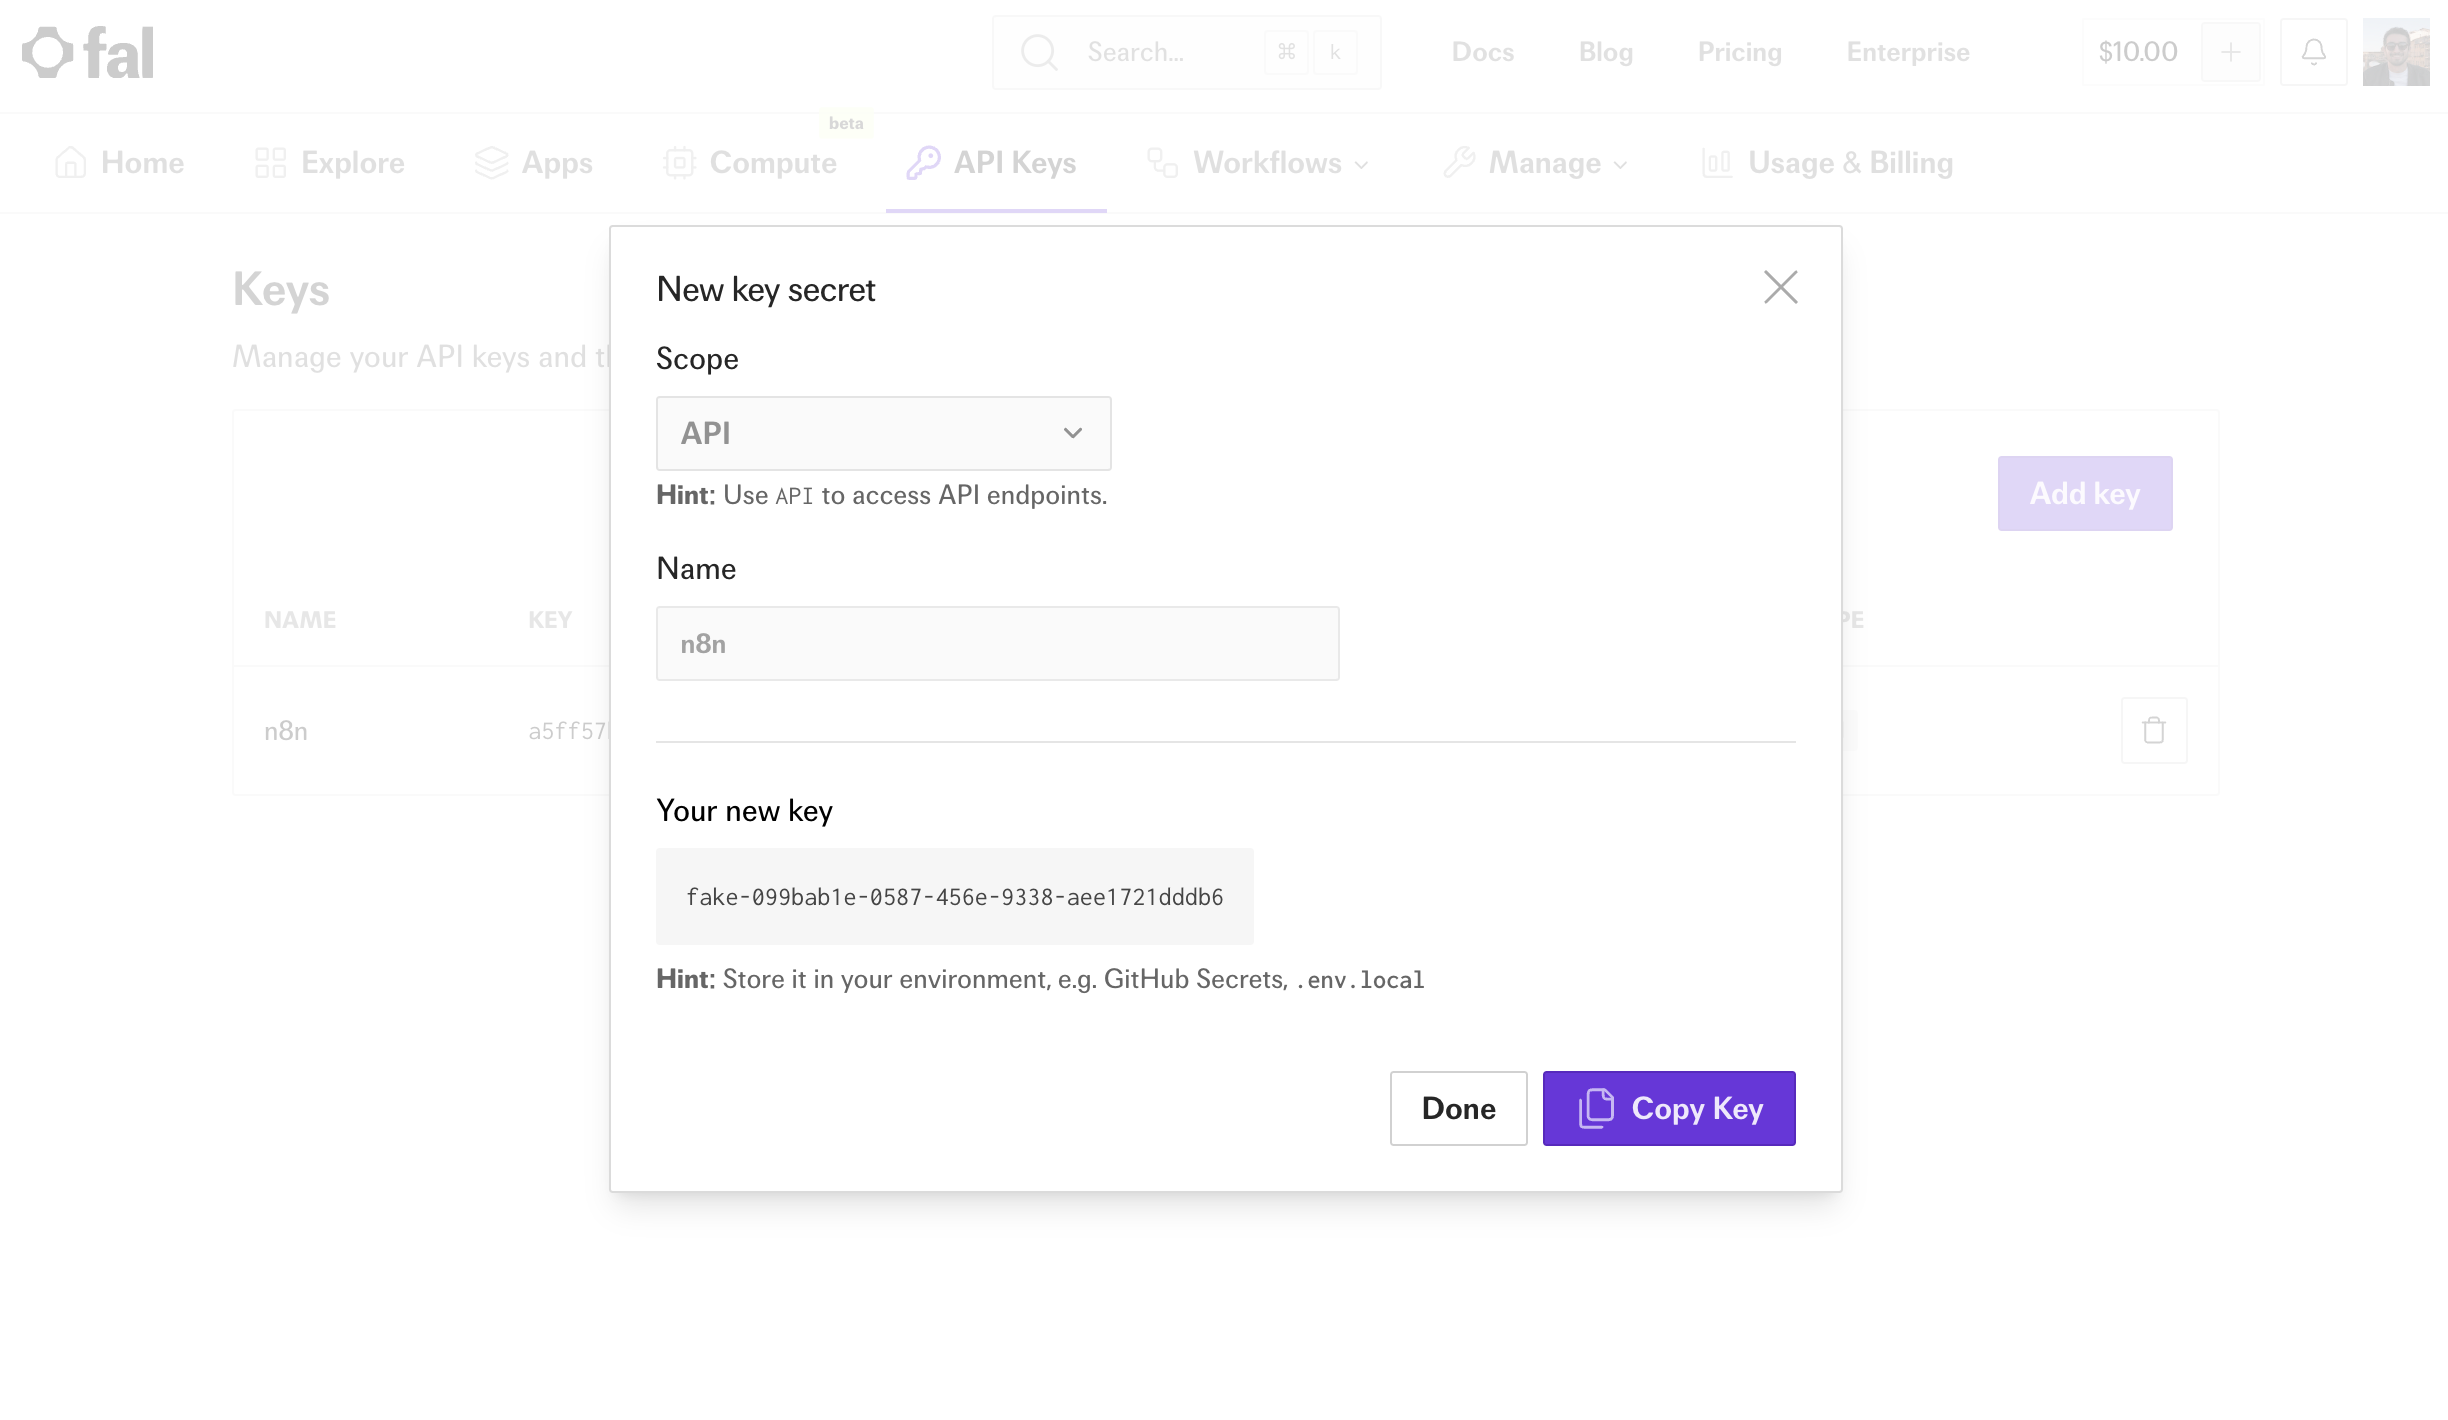
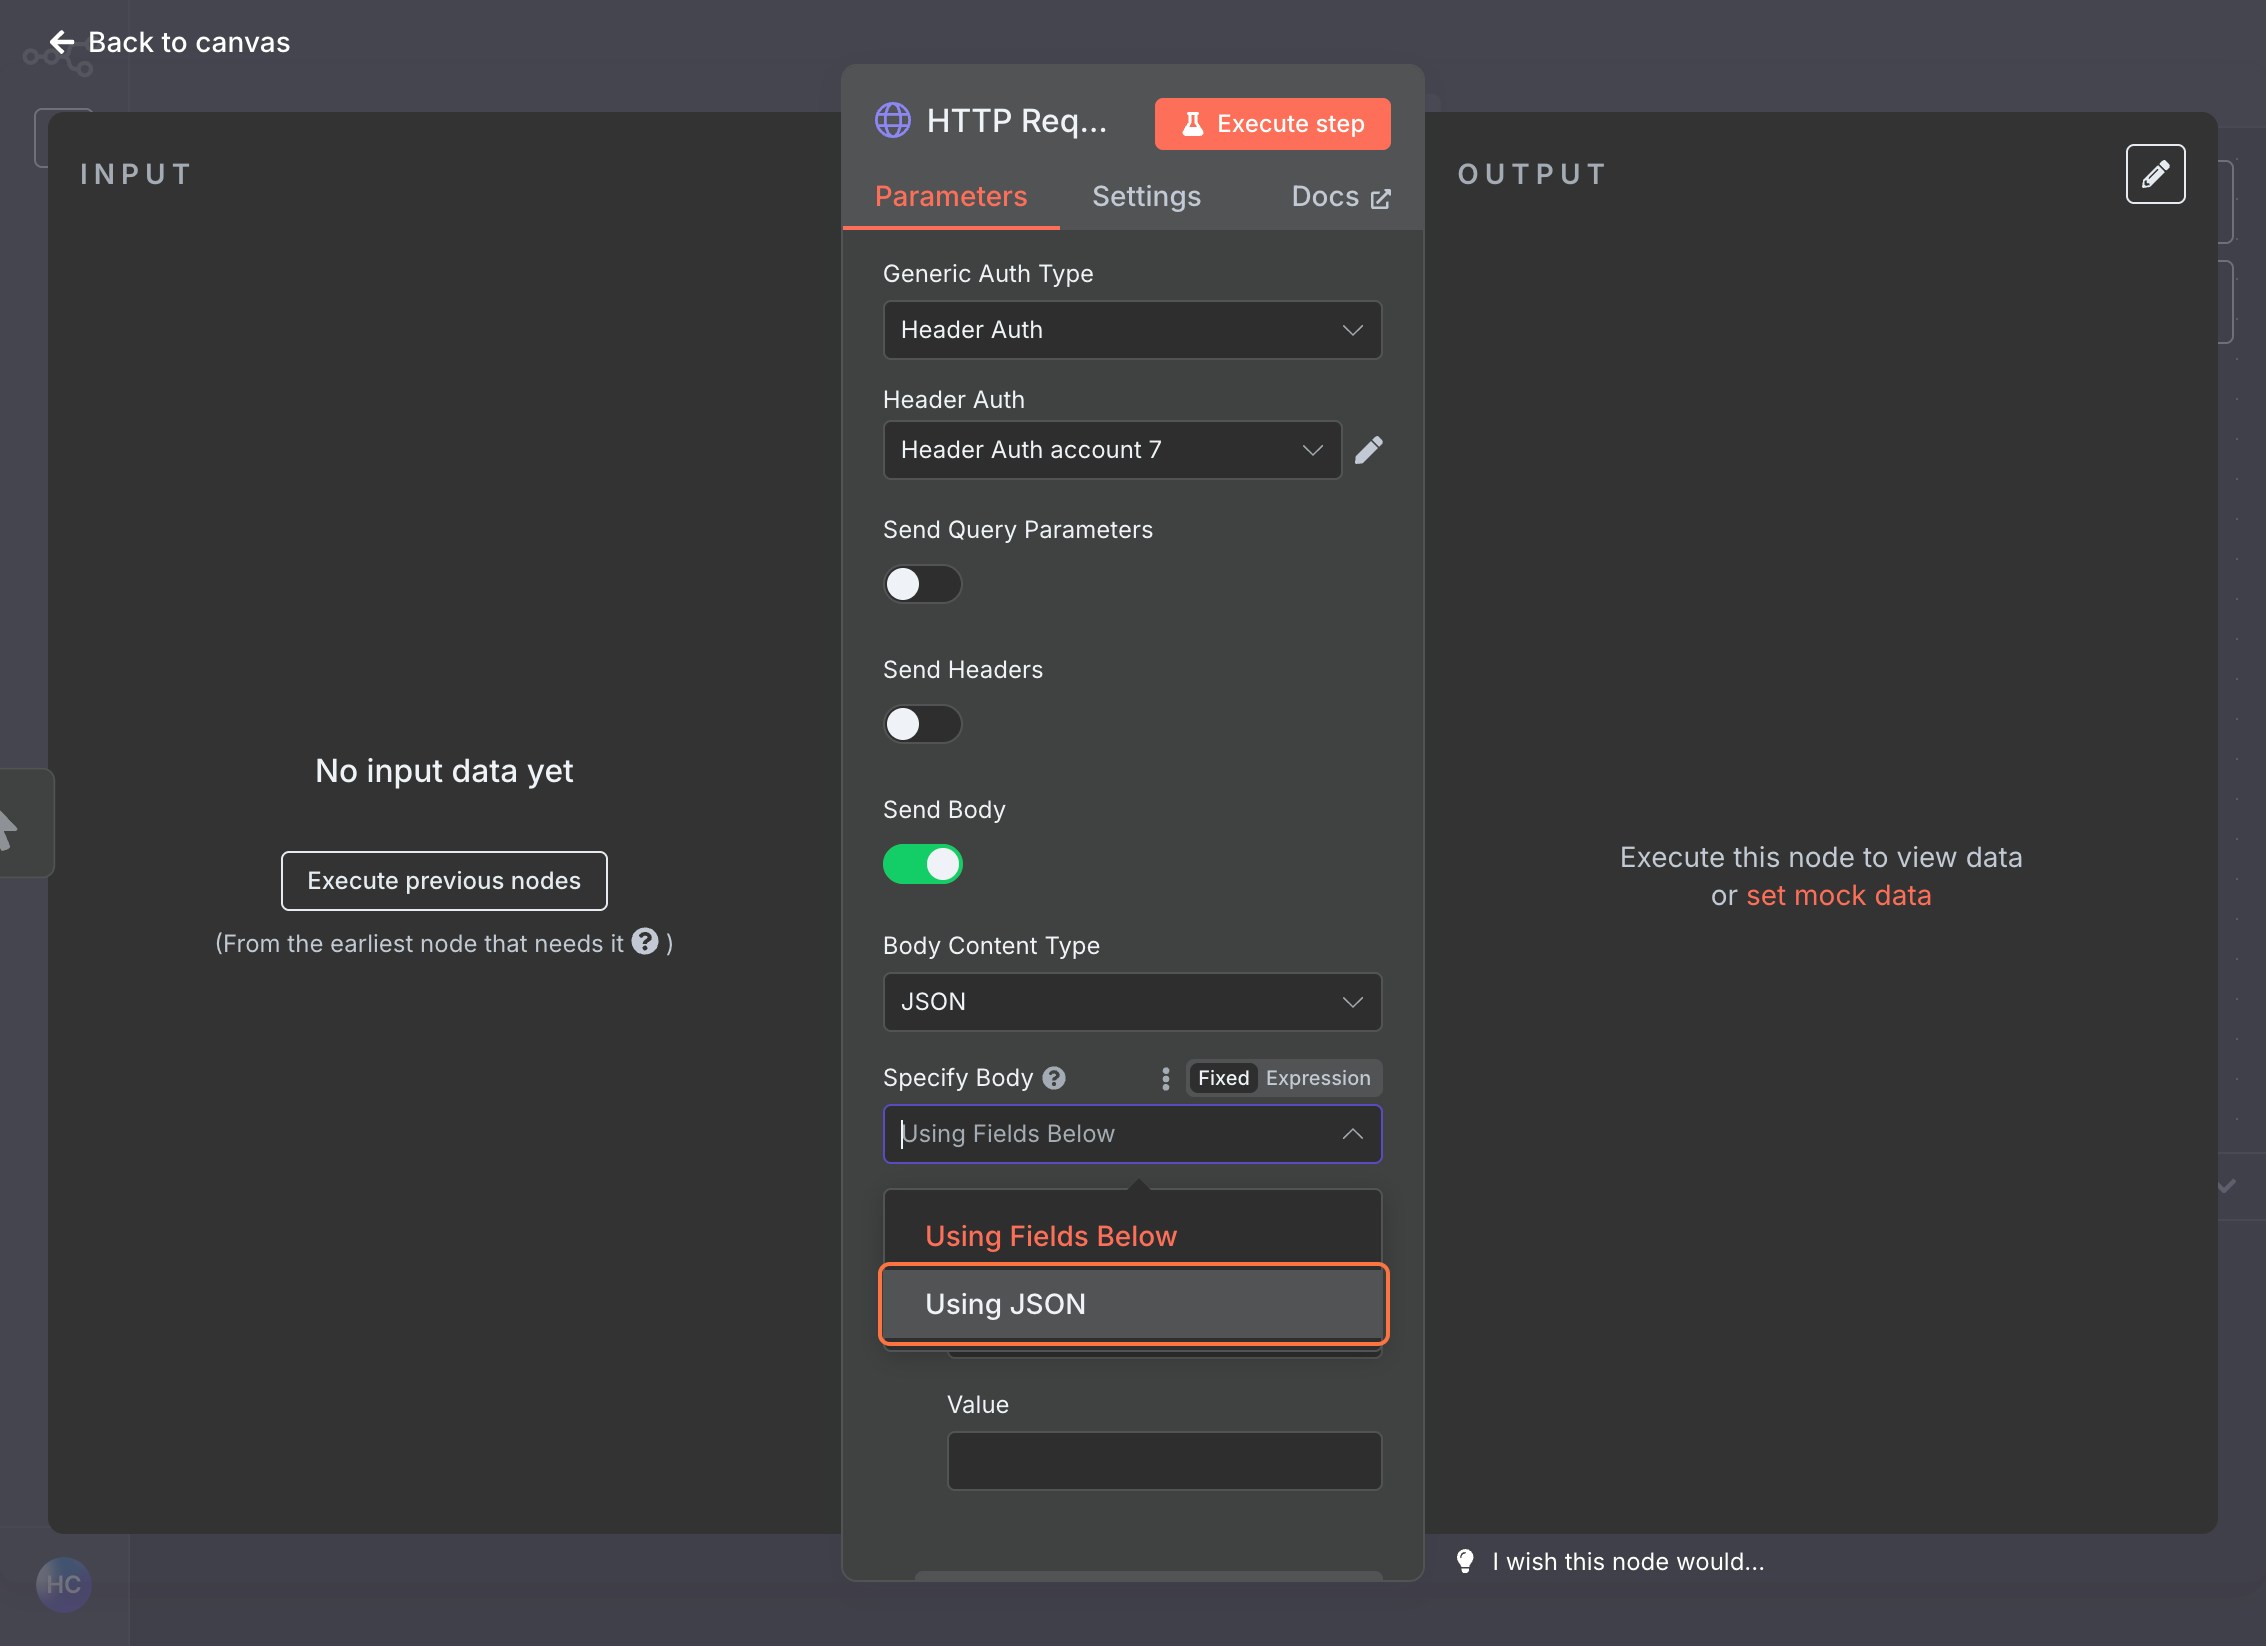
Configure Request Body
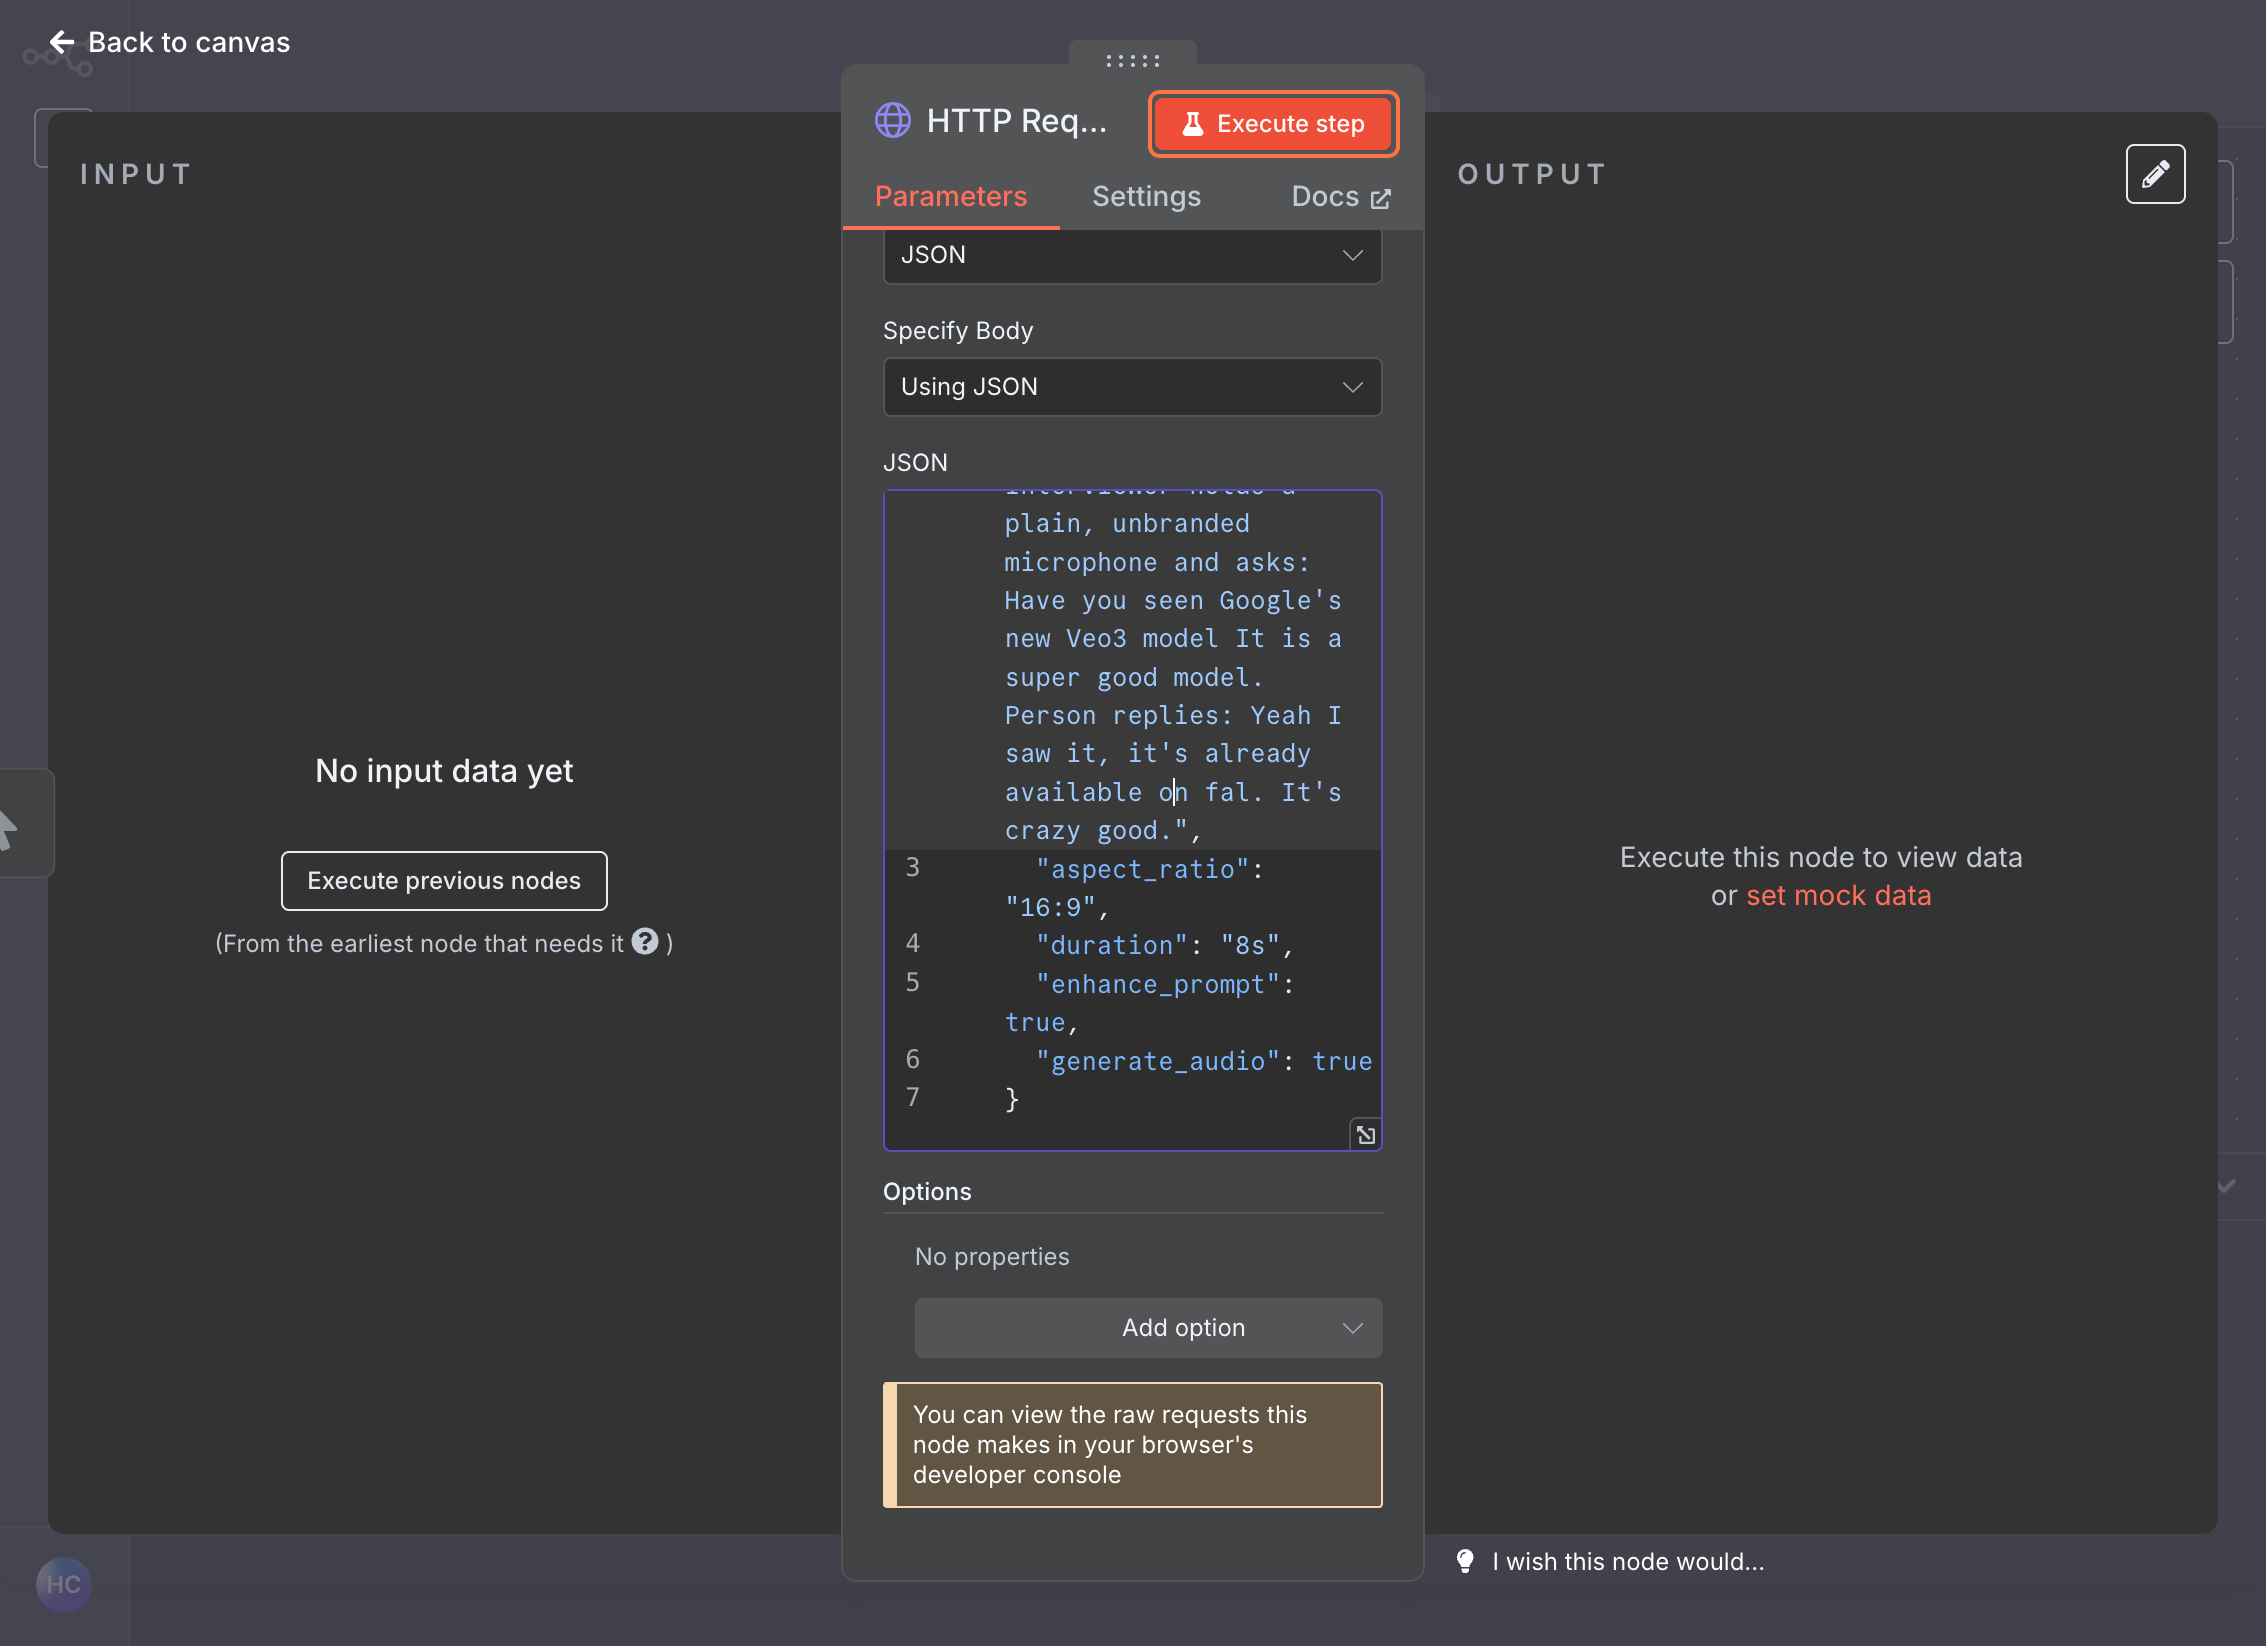
  1. Toggle Send Body to ON
  2. Set Body Content Type to JSON
  3. Choose Specify Body as USING JSON
n8n HTTP Request body configuration with JSON selected
  1. In fal, go again to the model page, select JSON from dropdown and copy the payload
fal model playground showing JSON format selection
  1. Copy the JSON payload and paste it into n8n’s JSON text box
n8n JSON body configuration with fal payload

Execute the Node

  1. Click Execute Node to test the request. You should receive a response with a request ID.
n8n HTTP Request node execution showing successful response with request ID

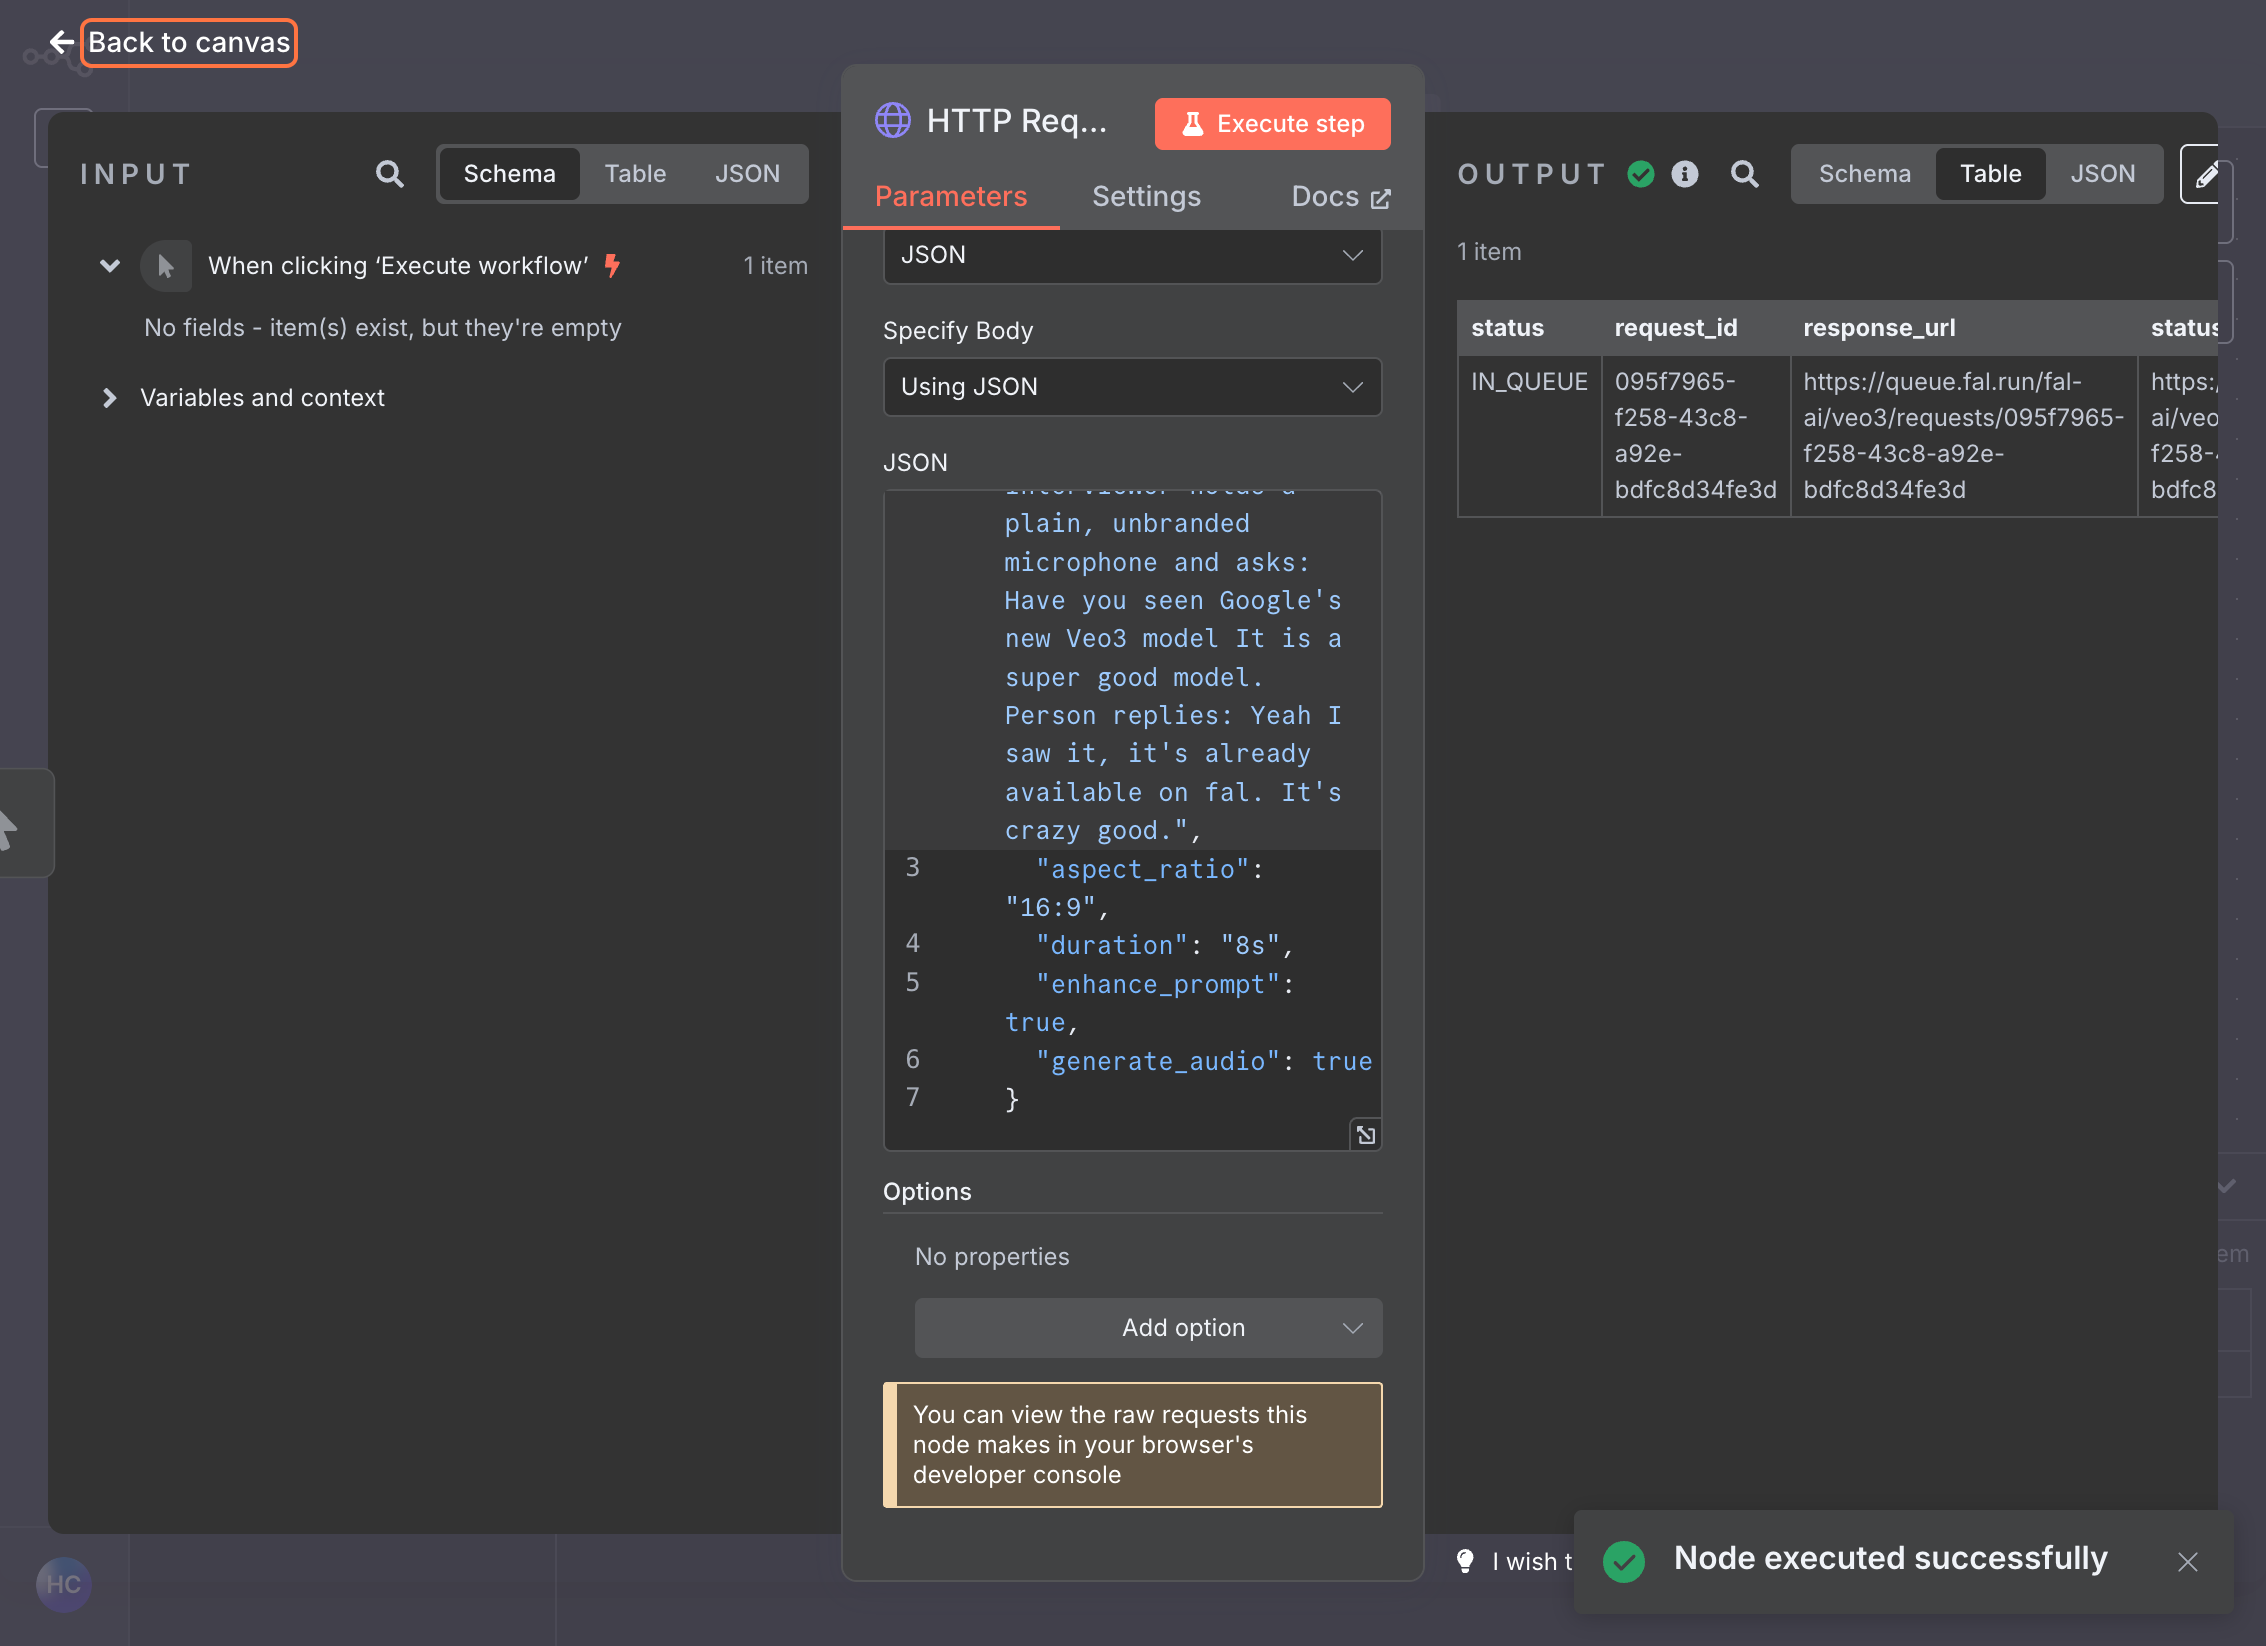
Step 3: Check Status (GET)

Add Second HTTP Request Node

  1. Click on the first HTTP Request node and add another HTTP Request node
  2. Set the Method to GET

Configure Status Check URL
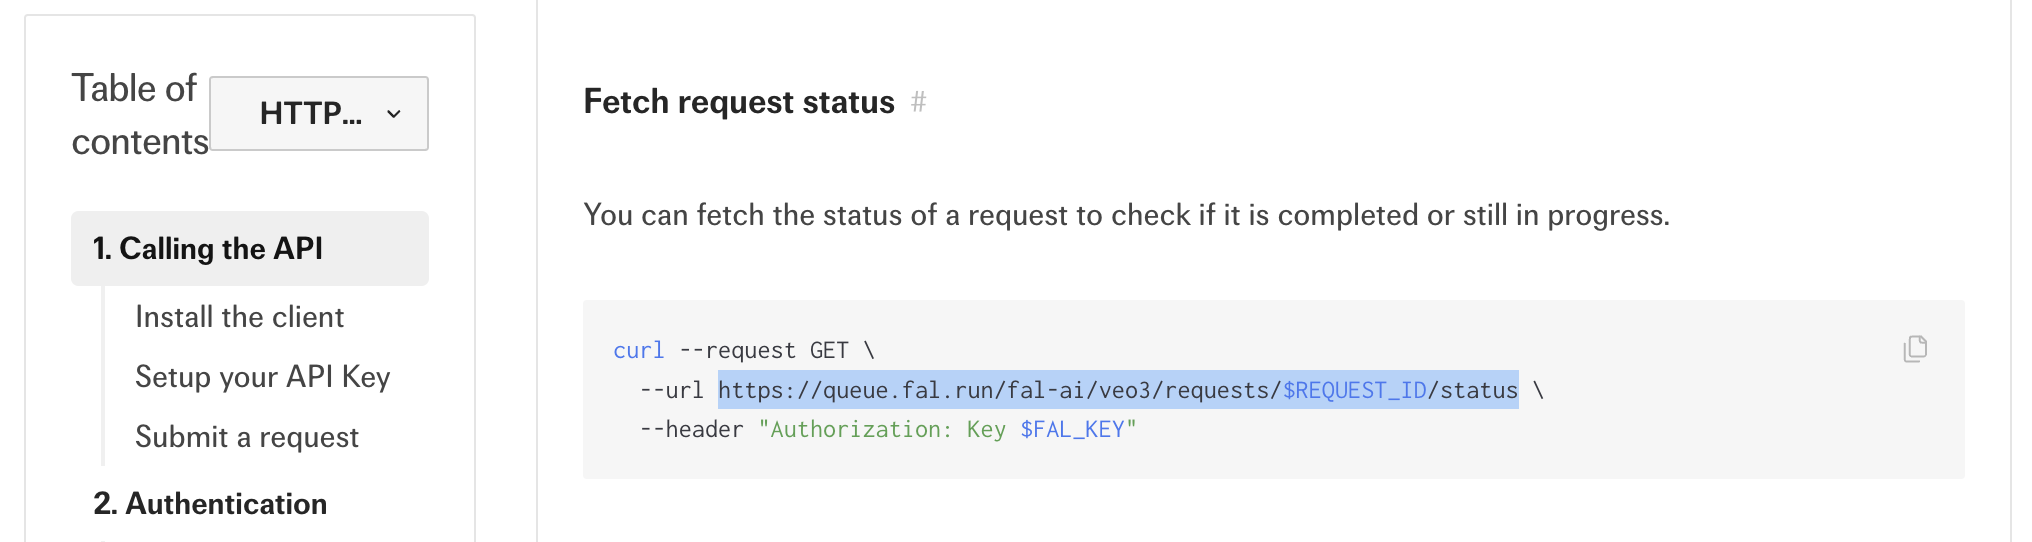
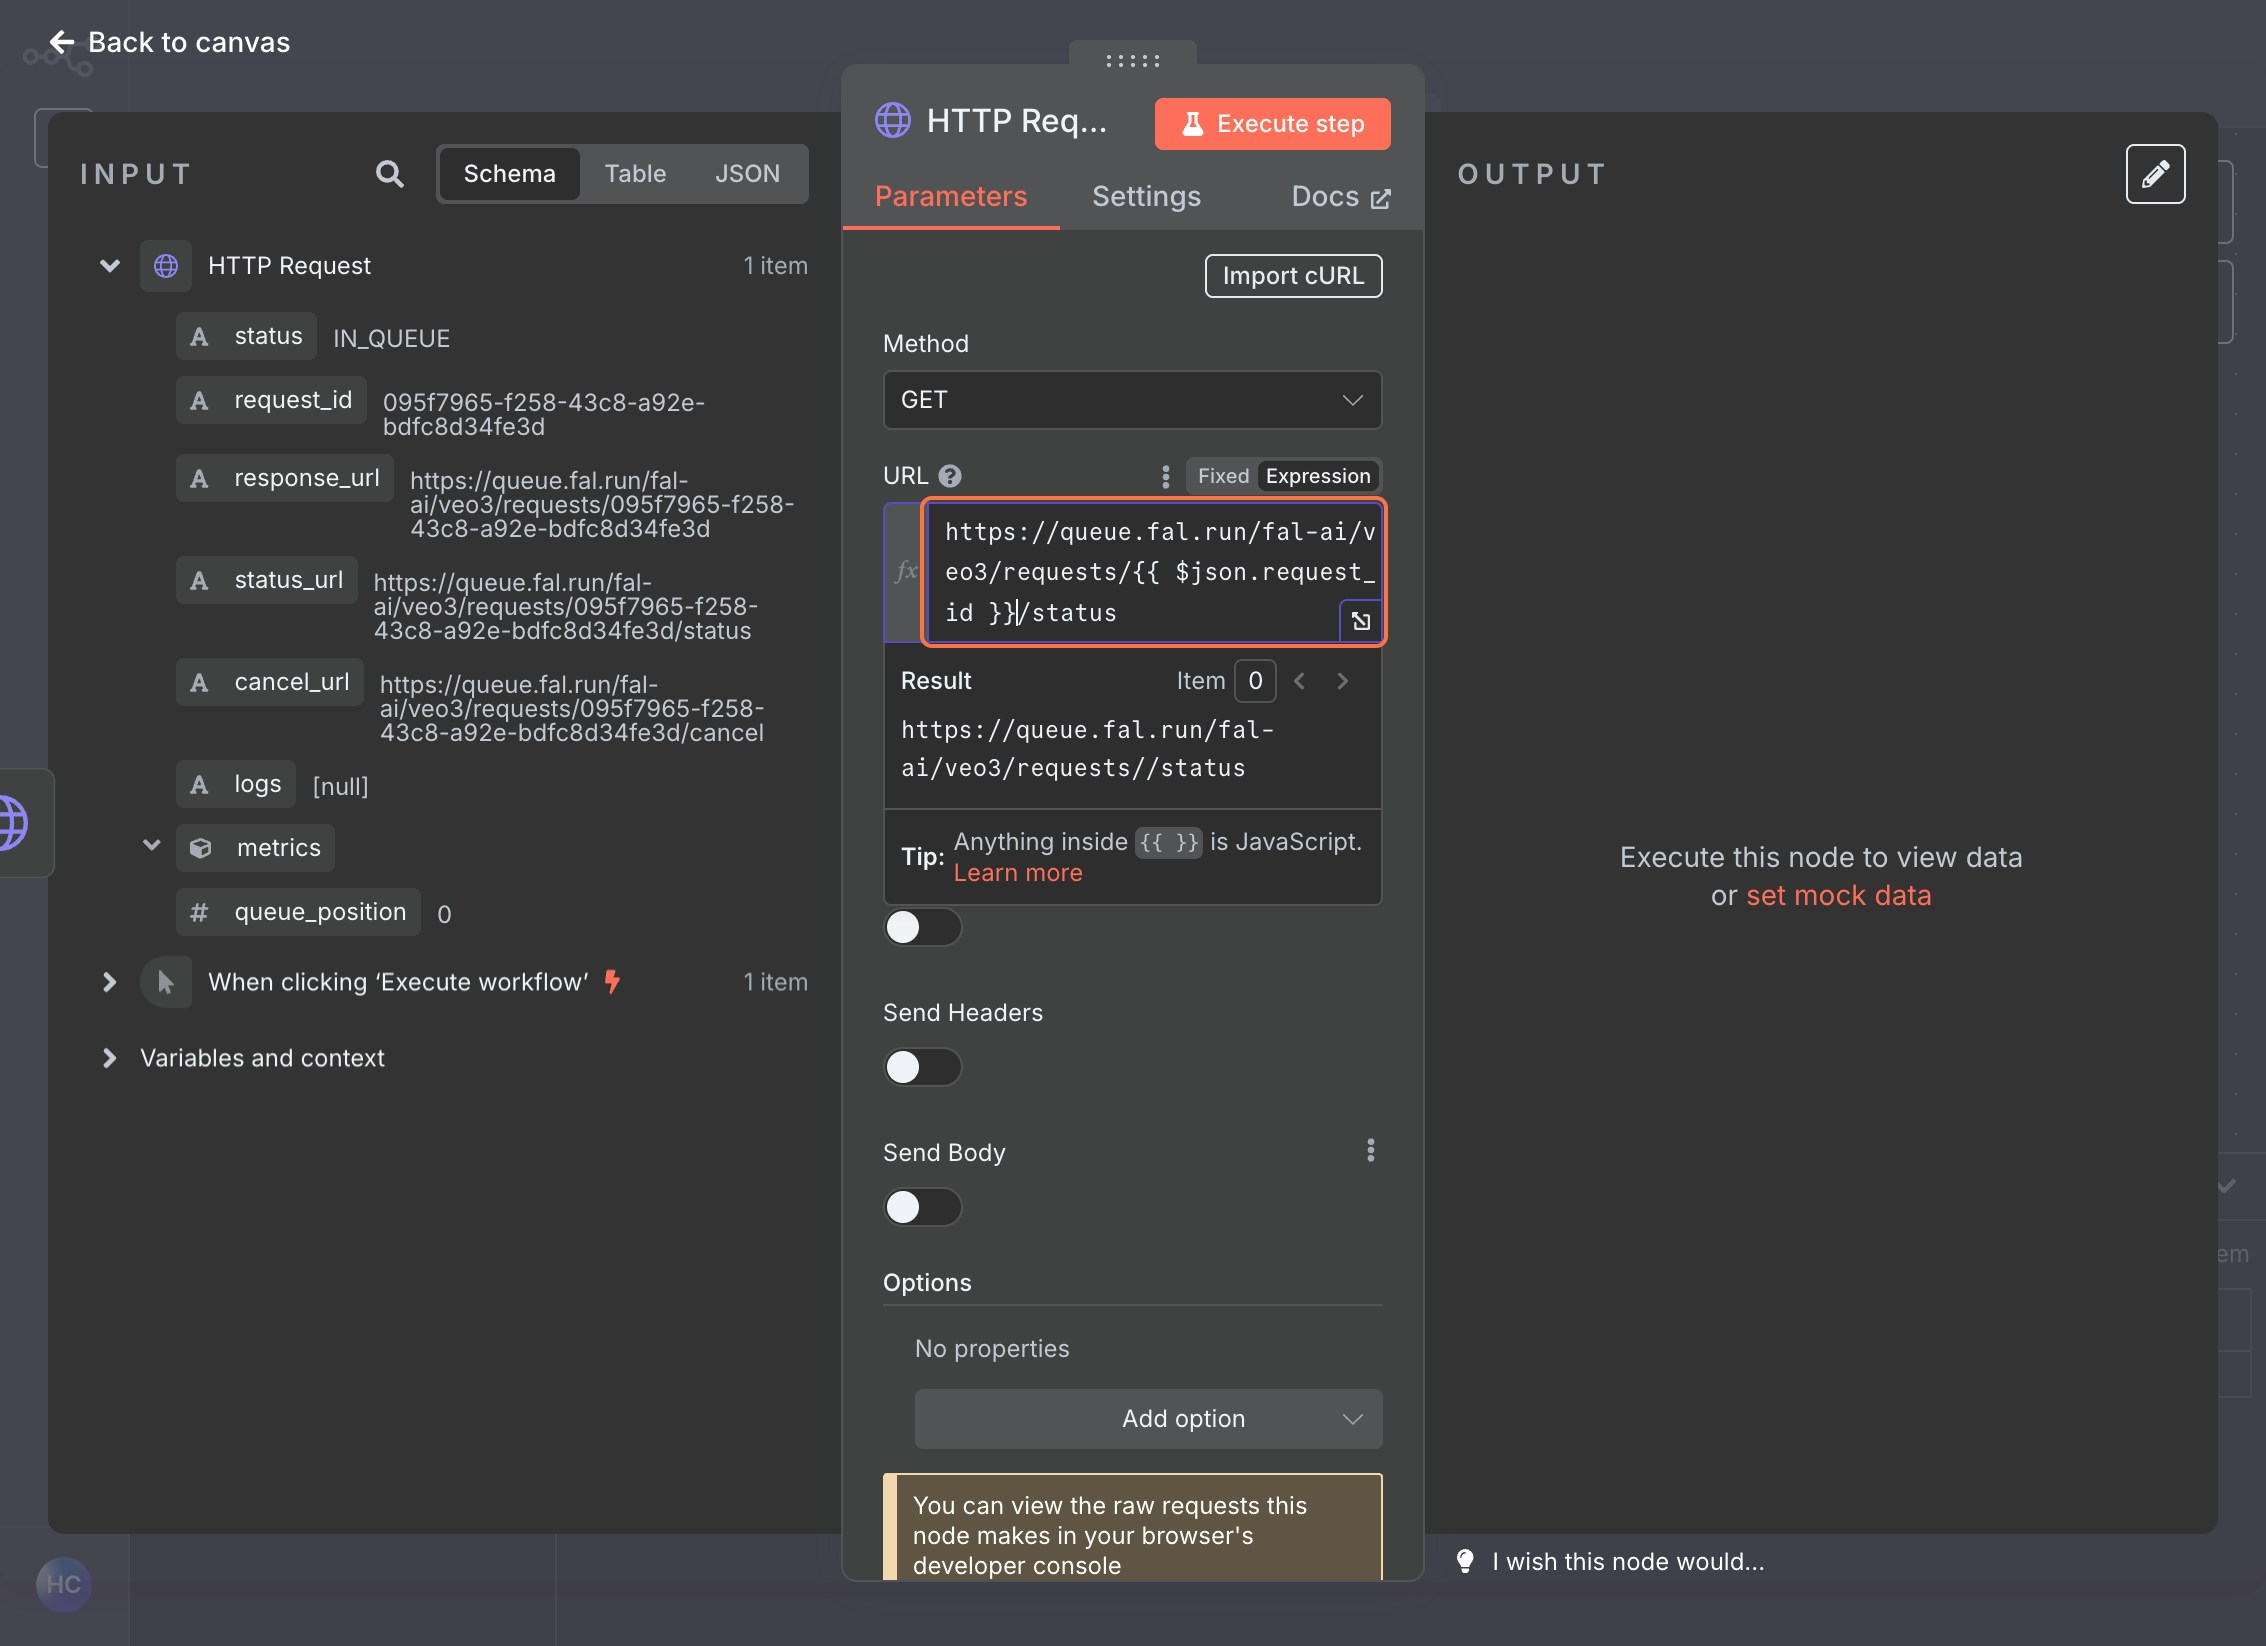
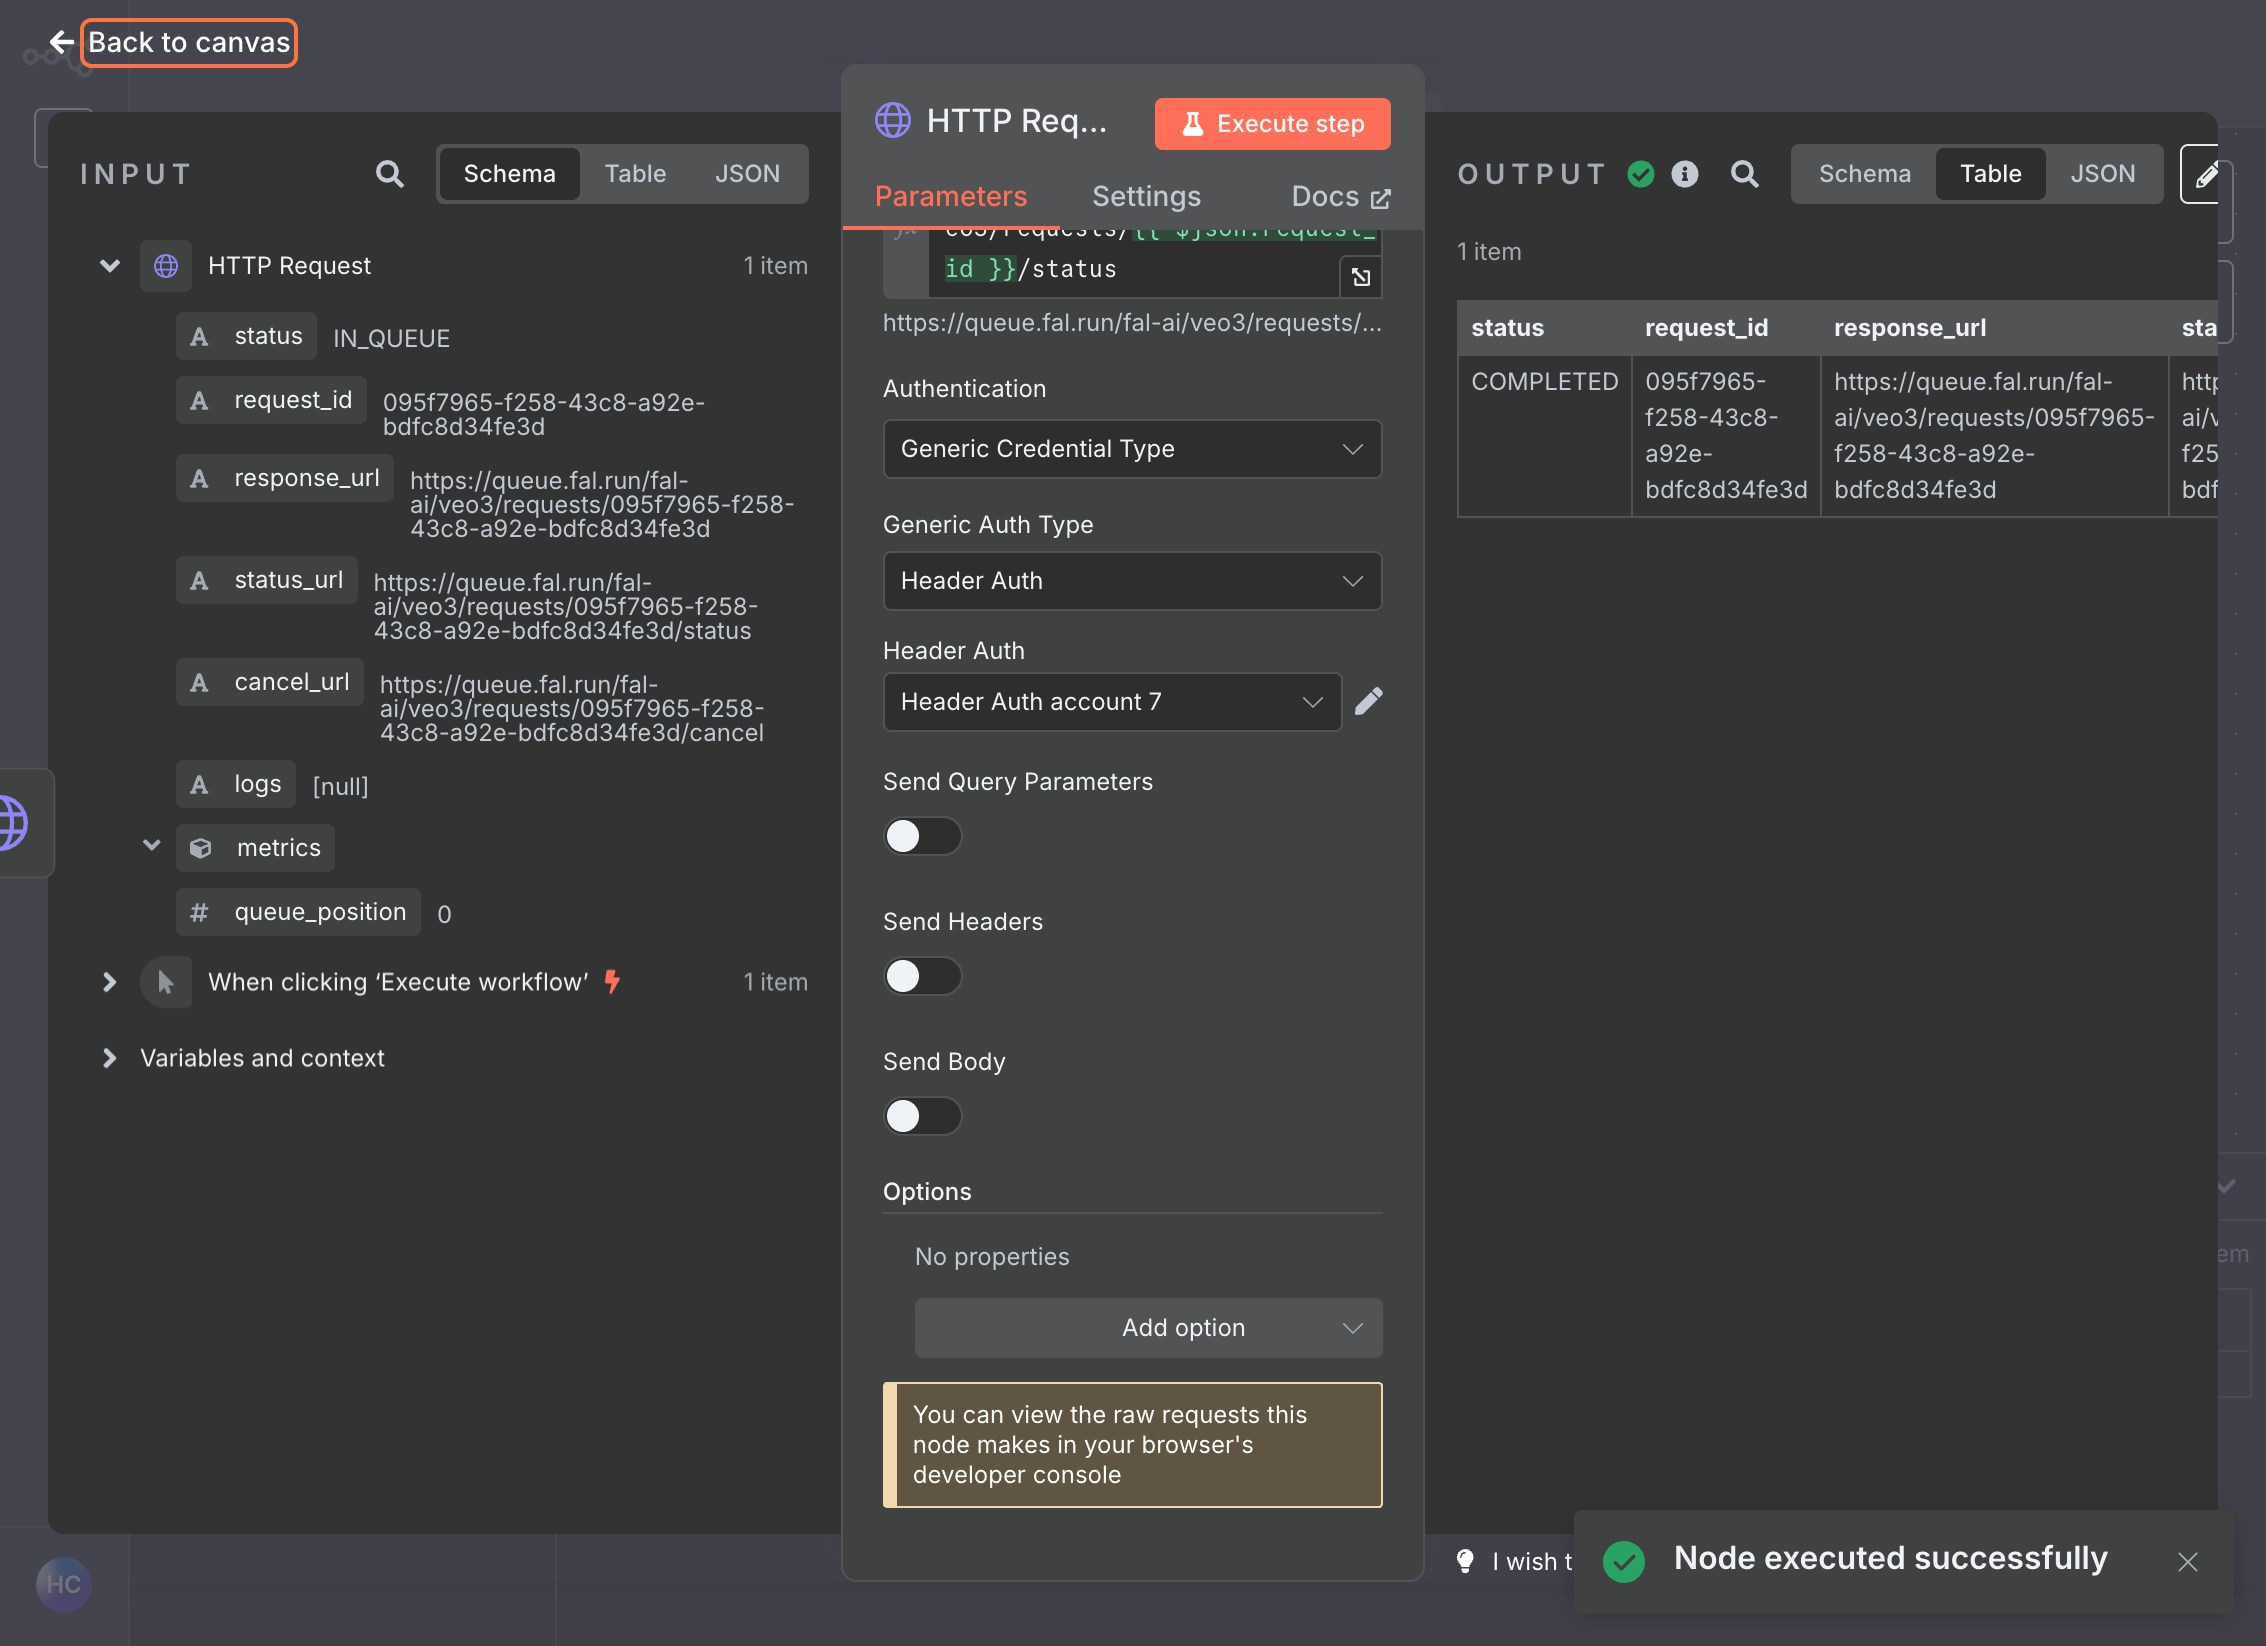
  1. In fal, go to your model’s API section and find the GET URL for status checking
fal API documentation showing GET status check URL
  1. Copy this URL and paste it into the URL field
  2. You’ll need to replace the request ID from the previous step on this URL, with {{ $json.request_id }}
n8n second HTTP Request node with status check URL configured

Set Authentication

  1. Use the same Header Auth credential created earlier
  2. Select your existing Authorization credential

Execute the Node

  1. This will check the status of your generation request.
n8n status check node execution showing request status response

Step 4: Retrieve Result (GET)

Add Third HTTP Request Node

  1. Add a final HTTP Request node
  2. Set the Method to GET

Configure Result URL

  1. Use the result URL provided in the status response by setting the URL to {{ $json.request_url }}

Set Authentication

  1. Use the same Header Auth credential

Execute the Node

This will retrieve your final generated content.

Testing Your Workflow

  1. Save your workflow
  2. Click Execute Workflow to run the complete process
  3. Monitor each node to ensure successful execution
  4. Check the final node output for your generated content

Best Practices

  • Error Handling: Add error handling nodes to manage failed requests
  • Delays: Consider adding Wait nodes between status checks to avoid overwhelming the API
  • Conditional Logic: Use IF nodes to check status before proceeding to result retrieval
  • Data Transformation: Use Set nodes to extract and format specific data from responses

Troubleshooting

  • 401 Unauthorized: Check that your API key is correctly set in the authentication header
  • Request ID Missing: Ensure the first POST request completed successfully and returned a request ID
  • Status Still Processing: Add appropriate delays between status checks
  • Invalid JSON: Verify your JSON payload matches the model’s expected format

Next Steps

Once you have a working workflow, you can:

  • Connect it to external triggers (webhooks, schedules, etc.)
  • Integrate with other services in your n8n workflow
  • Add data processing and transformation steps
  • Set up notifications for completed generations